Create Group
This quickstart shows how to create a new group.
PrimeHub is group-centric. This means that users, instance types, images, and datasets must be assigned to a group. Without being assigned to a group, these elements cannot be utilized, and users will not be able to access any features of PrimeHub.
Groups allow a subset of users to share storage, such as datasets and shared volumes. Available computational resources can also be configured through assigning Instance Types to groups, allowing resource allocation on a per-project basis.
As users can be added to multiple groups, this means they can collaborate on many projects, and access different datasets with specific server resource configurations.
Create a Group
Log in as an administrator and switch to the Admin Portal.
Click
Groupsin the left sidebar, then click the+ Addbutton.Enter required information, such as
NameToggle
Shared Volumeif a volume for sharing data among the group is required.Specify the
volume capacityTo restrict access to only this group, leave
Launch Group Onlytoggled toyes(default)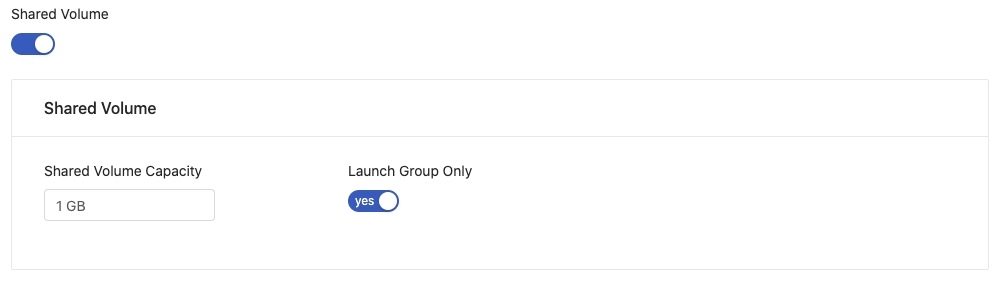
Adjust the
User Quotaresource allocation limit for users in this group (if required).Adjust the
Group Quotaresource allocation limit for the group (if required).Click
Edit Usersto select and assignUsersto this group.
Click
Confirmto create the group.
We have now created a group, configured a shared volume and user/group quota, and added users.
Next
In the next quick-start, we will learn how to assign a group admin.