RStudio image
We could use repo2docker to build a Jupyter Notebook with RStudio: https://github.com/binder-examples/r
Ensure repo2docker installed
Clone the source code and add
sudotoapt.txtBuild image with arguments
--user-name jovyan --user-id 1000Add image to PrimeHub and start in
Safe Mode
Check repo2docker
Execute jupyter-repo2docker command to see if any output from the command
jupyter-repo2docker --help | head -10usage: jupyter-repo2docker [-h] [--config CONFIG] [--json-logs]
[--image-name IMAGE_NAME] [--ref REF] [--debug]
[--no-build]
[--build-memory-limit BUILD_MEMORY_LIMIT]
[--no-run] [--publish PORTS] [--publish-all]
[--no-clean] [--push] [--volume VOLUMES]
[--user-id USER_ID] [--user-name USER_NAME]
[--env ENVIRONMENT] [--editable]
[--target-repo-dir TARGET_REPO_DIR]
[--appendix APPENDIX] [--subdir SUBDIR] [--version]If command command not found: jupyter-repo2docker shows, please install python3-pip and jupyter-repo2docker packages.
sudo apt install python3-pip
pip3 install jupyter-repo2docker
If bash: jupyter-repo2docker: command not found shows, please export ${HOME}/.local/bin file to PATH.
export PATH=${HOME}/.local/bin:${PATH}Use repo2docker to build R-studio docker image.
Git clone the source code
git clone https://github.com/binder-examples/r.git && cd rIn the source directory, create apt.txt and add sudo in a line
echo "sudo" > apt.txtCheck the current file status.
$ git status
On branch master
Your branch is up to date with 'origin/master'.

Untracked files:
  (use "git add <file>..." to include in what will be committed)

	apt.txt

nothing added to commit but untracked files present (use "git add" to track)
Verify
$ cat apt.txt
sudo
Build a image with the tag infuseai/r in the source directory (.)
jupyter-repo2docker --no-run --no-clean --user-name jovyan --user-id 1000 --push --image infuseai/r .Then Check the docker image is successfully push to dockerhub.
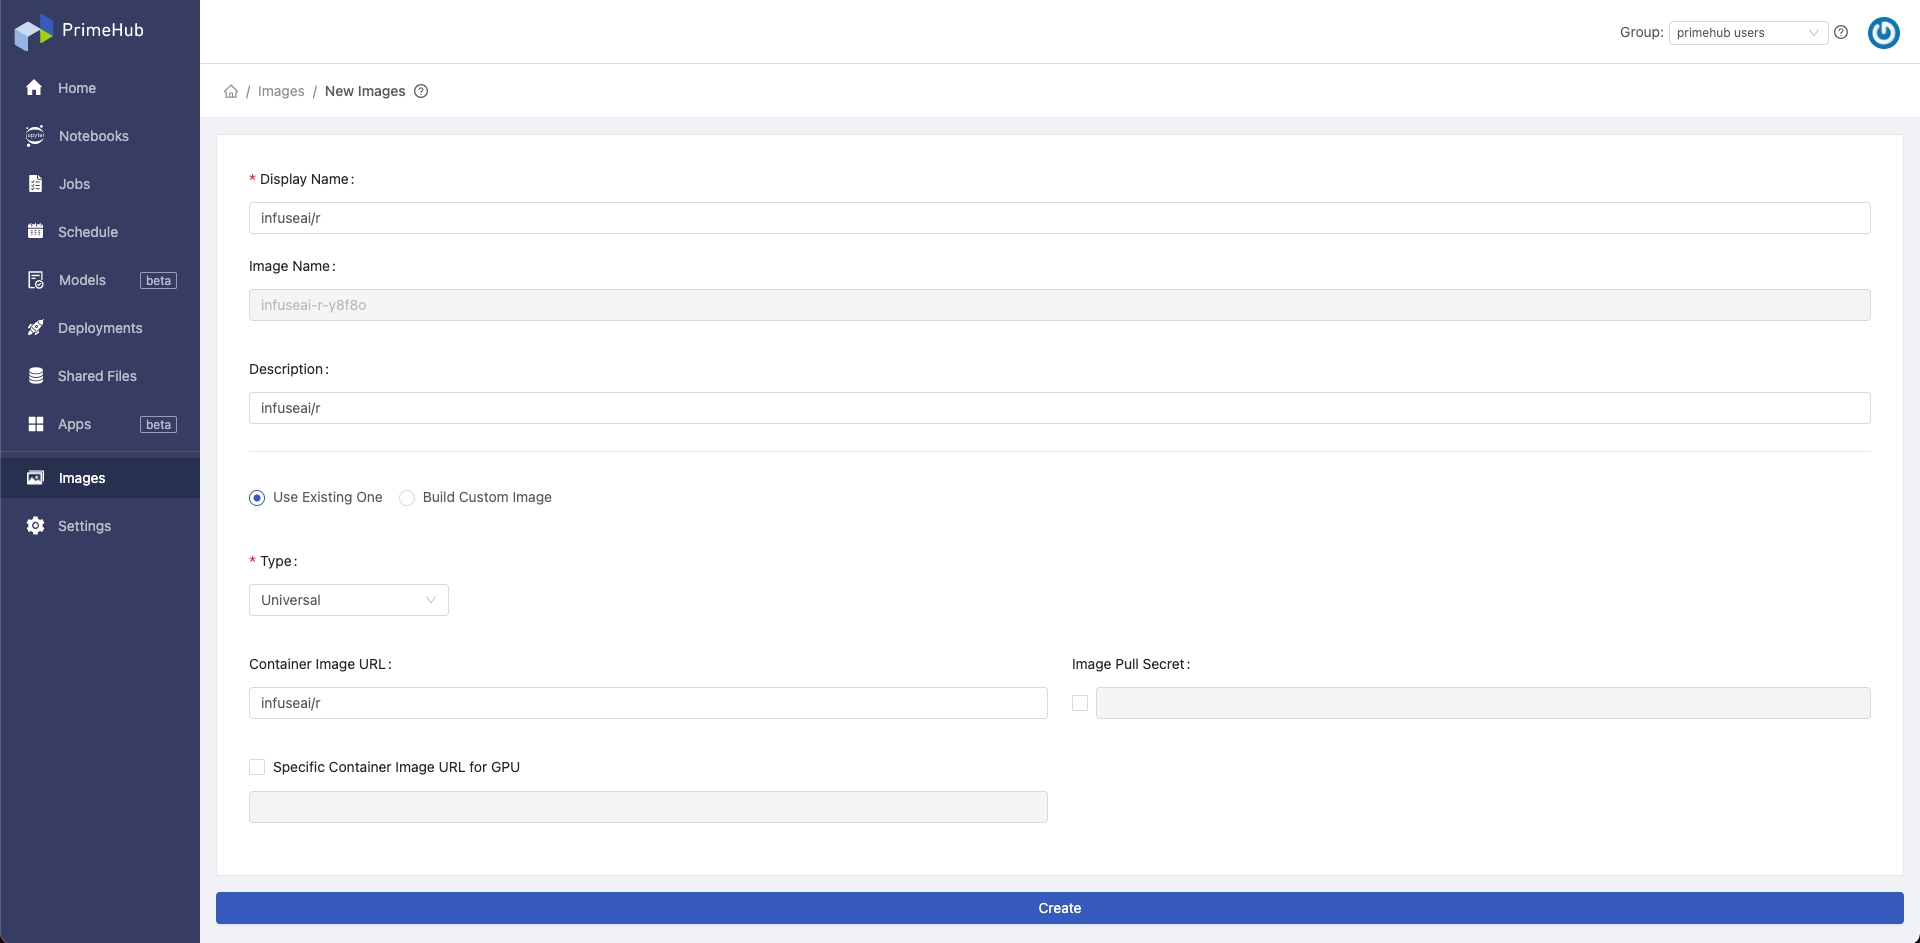
Build R-studio in PrimeHub
Add Docker image into PrimeHub images function.
Start Notebook with the image in Safe Mode.
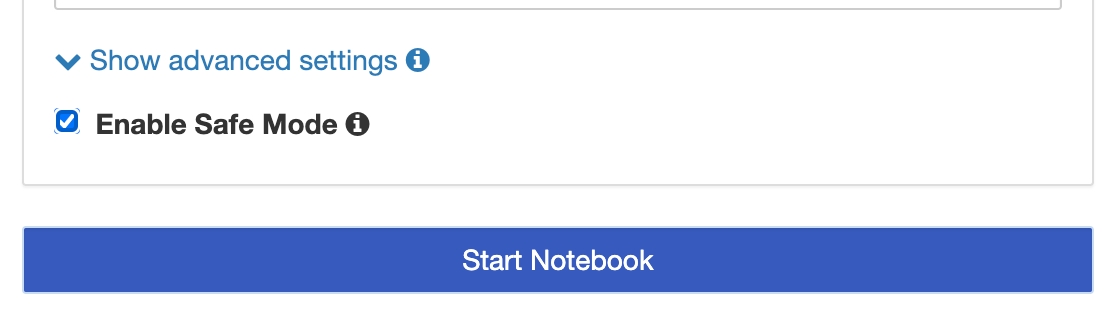
Initially, it enters a general Jupyter Notebook.
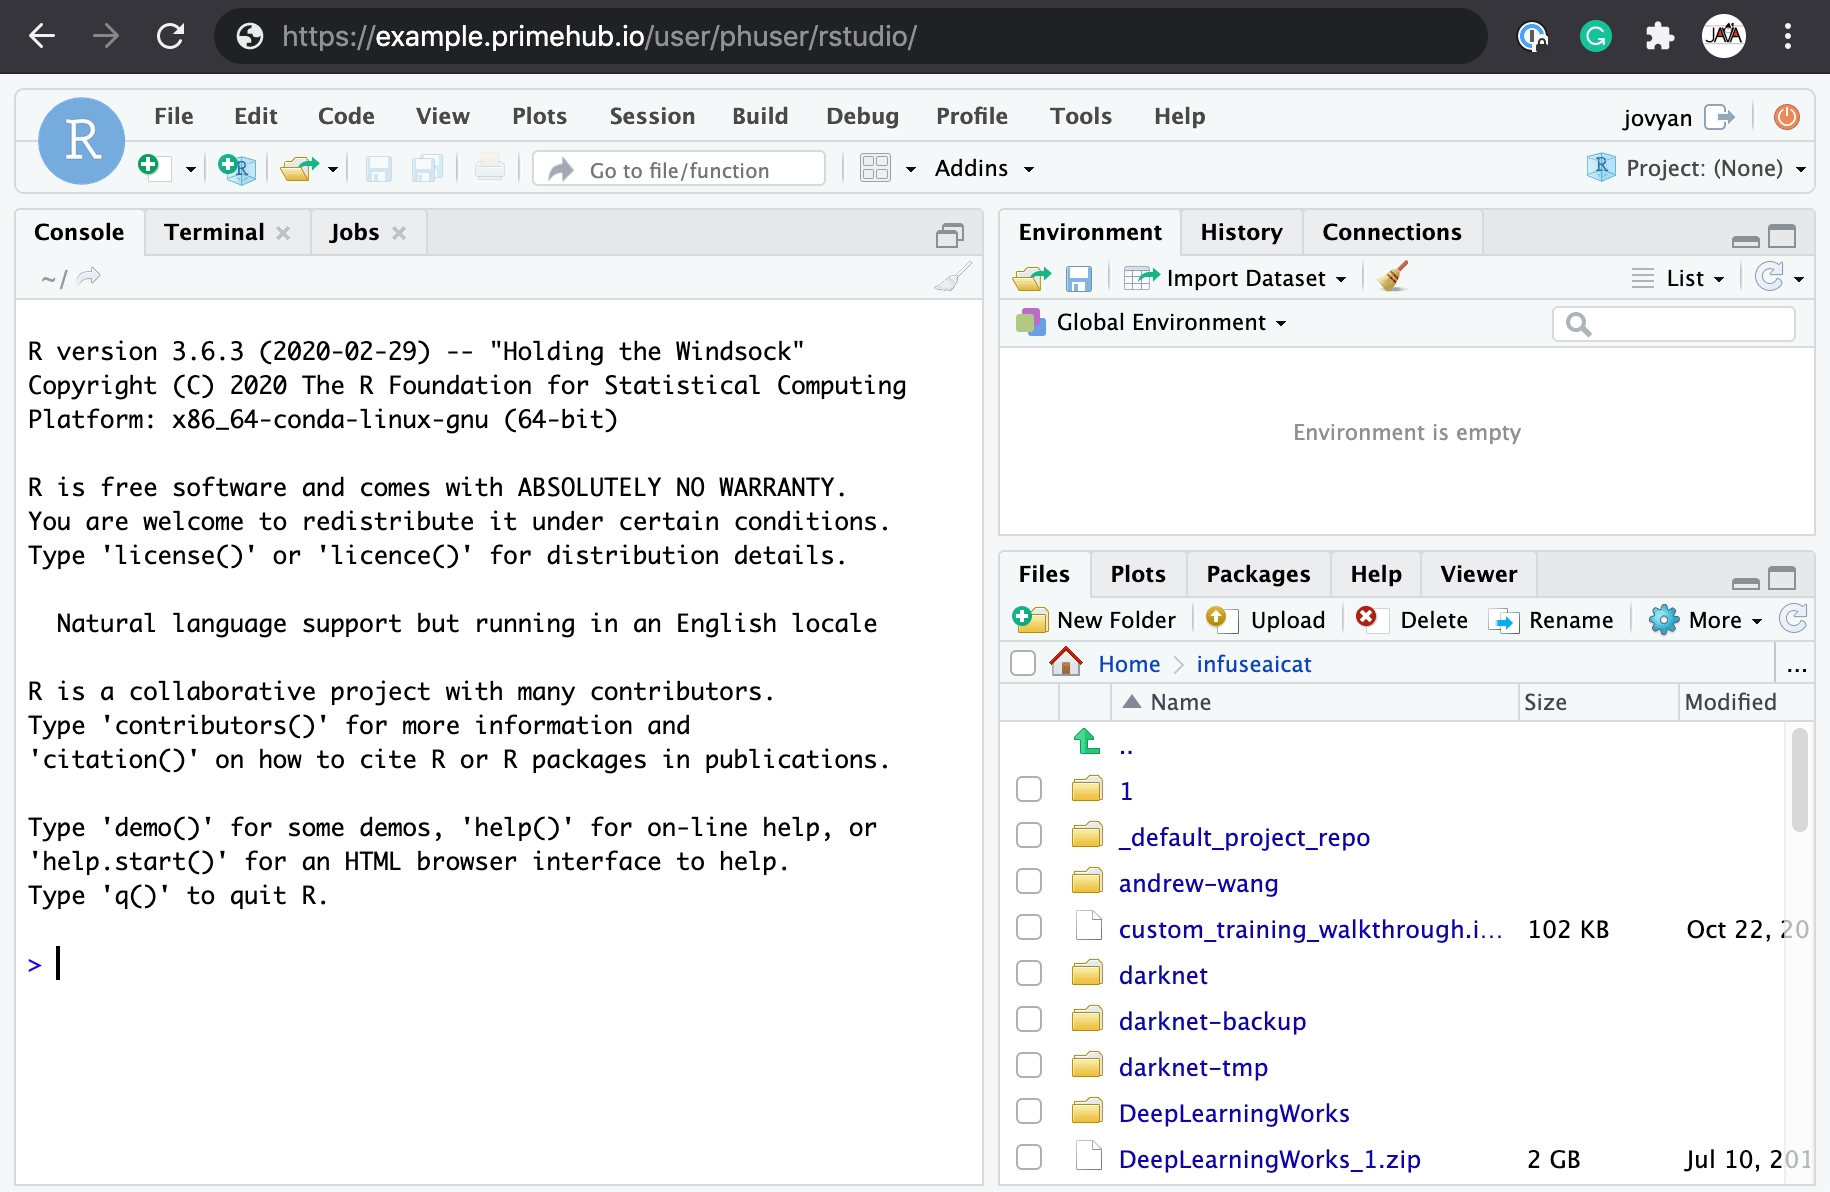
Regarding accessing RStudio, in browser the current URL looks like
https://example.primehub.io/user/<username>/labReplace the suffix lab with rstudio to be like URL below and navigate.
https://example.primehub.io/user/<username>/rstudioHere RStudio is