PrimeHub
  • Introduction
  • Installation
  • Tiers and Licenses
  • End-to-End Tutorial
    • 1 - MLOps Introduction and Scoping the Project
    • 2 - Train and Manage the Model
    • 3 - Compare, Register and Deploy the Model
    • 4 - Build the Web Application
    • 5 - Summary
  • User Guide
    • User Portal
    • Notebook
      • Notebook Tips
      • Advanced Settings
      • PrimeHub Notebook Extension
      • Submit Notebook as Job
    • Jobs
      • Job Artifacts
      • Tutorial
        • (Part1) MNIST classifier training
        • (Part2) MNIST classifier training
        • (Advanced) Use Job Submission to Tune Hyperparameters
        • (Advanced) Model Serving by Seldon
        • Job Artifacts Simple Usecase
    • Models
      • Manage and Deploy Model
      • Model Management Configuration
    • Deployments
      • Pre-packaged servers
        • TensorFlow server
        • PyTorch server
        • SKLearn server
        • Customize Pre-packaged Server
        • Run Pre-packaged Server Locally
      • Package from Language Wrapper
        • Model Image for Python
        • Model Image for R
        • Reusable Base Image
      • Prediction APIs
      • Model URI
      • Tutorial
        • Model by Pre-packaged Server
        • Model by Pre-packaged Server (PHFS)
        • Model by Image built from Language Wrapper
    • Shared Files
    • Datasets
    • Apps
      • Label Studio
      • MATLAB
      • MLflow
      • Streamlit
      • Tutorial
        • Create Your Own App
        • Create an MLflow server
        • Label Dataset by Label Studio
        • Code Server
    • Group Admin
      • Images
      • Settings
    • Generate an PrimeHub API Token
    • Python SDK
    • SSH Server Feature
      • VSCode SSH Notebook Remotely
      • Generate SSH Key Pair
      • Permission Denied
      • Connection Refused
    • Advanced Tutorial
      • Labeling the data
      • Notebook as a Job
      • Custom build the Seldon server
      • PrimeHub SDK/CLI Tools
  • Administrator Guide
    • Admin Portal
      • Create User
      • Create Group
      • Assign Group Admin
      • Create/Plan Instance Type
      • Add InfuseAI Image
      • Add Image
      • Build Image
      • Gitsync Secret for GitHub
      • Pull Secret for GitLab
    • System Settings
    • User Management
    • Group Management
    • Instance Type Management
      • NodeSelector
      • Toleration
    • Image Management
      • Custom Image Guideline
    • Volume Management
      • Upload Server
    • Secret Management
    • App Settings
    • Notebooks Admin
    • Usage Reports
  • Reference
    • Jupyter Images
      • repo2docker image
      • RStudio image
    • InfuseAI Images List
    • Roadmap
  • Developer Guide
    • GitHub
    • Design
      • PrimeHub File System (PHFS)
      • PrimeHub Store
      • Log Persistence
      • PrimeHub Apps
      • Admission
      • Notebook with kernel process
      • JupyterHub
      • Image Builder
      • Volume Upload
      • Job Scheduler
      • Job Submission
      • Job Monitoring
      • Install Helper
      • User Portal
      • Meta Chart
      • PrimeHub Usage
      • Job Artifact
      • PrimeHub Apps
    • Concept
      • Architecture
      • Data Model
      • CRDs
      • GraphQL
      • Persistence Storages
      • Persistence
      • Resources Quota
      • Privilege
    • Configuration
      • How to configure PrimeHub
      • Multiple Jupyter Notebook Kernels
      • Configure SSH Server
      • Configure Job Submission
      • Configure Custom Image Build
      • Configure Model Deployment
      • Setup Self-Signed Certificate for PrimeHub
      • Chart Configuration
      • Configure PrimeHub Store
    • Environment Variables
Powered by GitBook
On this page
  • How does a pre-packaged server work?
  • Model module
  • Handle model files
  1. User Guide
  2. Deployments
  3. Pre-packaged servers

Customize Pre-packaged Server

PreviousSKLearn serverNextRun Pre-packaged Server Locally

Last updated 2 years ago

PrimeHub provides many pre-packaged servers, it might not fit in your use cases:

  1. You are adopting a new machine learning library, we haven't provided.

  2. You want to support a serialization format for your model, we haven't supported it.

  3. You want to customize monitoring metrics data.

  4. You want to add the preprocessing or postprocessing code.

This document will show you how to customize a Python model server and focus on the model_uri mechanism of the PrimeHub Deployment. You could refer to existing implementation on the git repository .

We will use the code in the server to explain concepts.

How does a pre-packaged server work?

If you look at the in the skeleton server:

FROM python:3.7-slim
COPY ./server /app
WORKDIR /app
RUN pip install -r requirements.txt
EXPOSE 5000
EXPOSE 9000

# Define environment variable
ENV MODEL_NAME Model
ENV SERVICE_TYPE MODEL
ENV PERSISTENCE 0

CMD exec seldon-core-microservice $MODEL_NAME --service-type $SERVICE_TYPE --persistence $PERSISTENCE --access-log

You will find the entrypoint is seldon-core-microservice with a $MODEL_NAME (Model). seldon-core-microservice plays an HTTP server to get requests from clients and delegates all model requests to your Model. seldon-core-microservice will validate input data and convert it to proper data type to the Model, Model does predict and sends back results.

The main goal of building your pre-packaged server is writing your Model python module.

Model module

In our example, it defines MODEL_NAME to Model. It means that the model is a Model.py file and contains a Model class. seldon-core-microservice will load the Python module Model and get the class Model, it works in that way:

  1. load python module Model.py

  2. check if there is a class named Model in the loaded module.

  3. create a Model object

The concepts of the pseudo code will look like this:

# create a user_model and delegate client calls to it
user_model = Model(**parameters)

# load model if load method implemented
user_model.load()

# response the result of the predict method
user_model.predict(features, feature_names, **kwargs)

The model is a simple Python class, and you have to implement the predict to send the result of predictions:

class Model:
    def __init__(self, model_uri=None):
        # initialization
        # 1. configure model path from the model_uri if needed
        self.model_uri = model_uri
        self.model = None

        # 2. initialize the predictor
        # you might want to enable GPU if it is not enabled automatically

        # 3. invoke load method to preload the model
        self.ready = False
        self.load()

    def load(self):
        # load and create a model
        # if model_uri was given, load data and create model instance from it
        if self.ready:
            return

        # build model
        # 1. set to self.model
        # 2. make set.ready = True
        self.ready = True

    def predict(self, X, feature_names = None, meta = None):
        # execute self.model.predict(X)
        print(X, feature_names, meta)
        return "Hello Model"

Handle model files

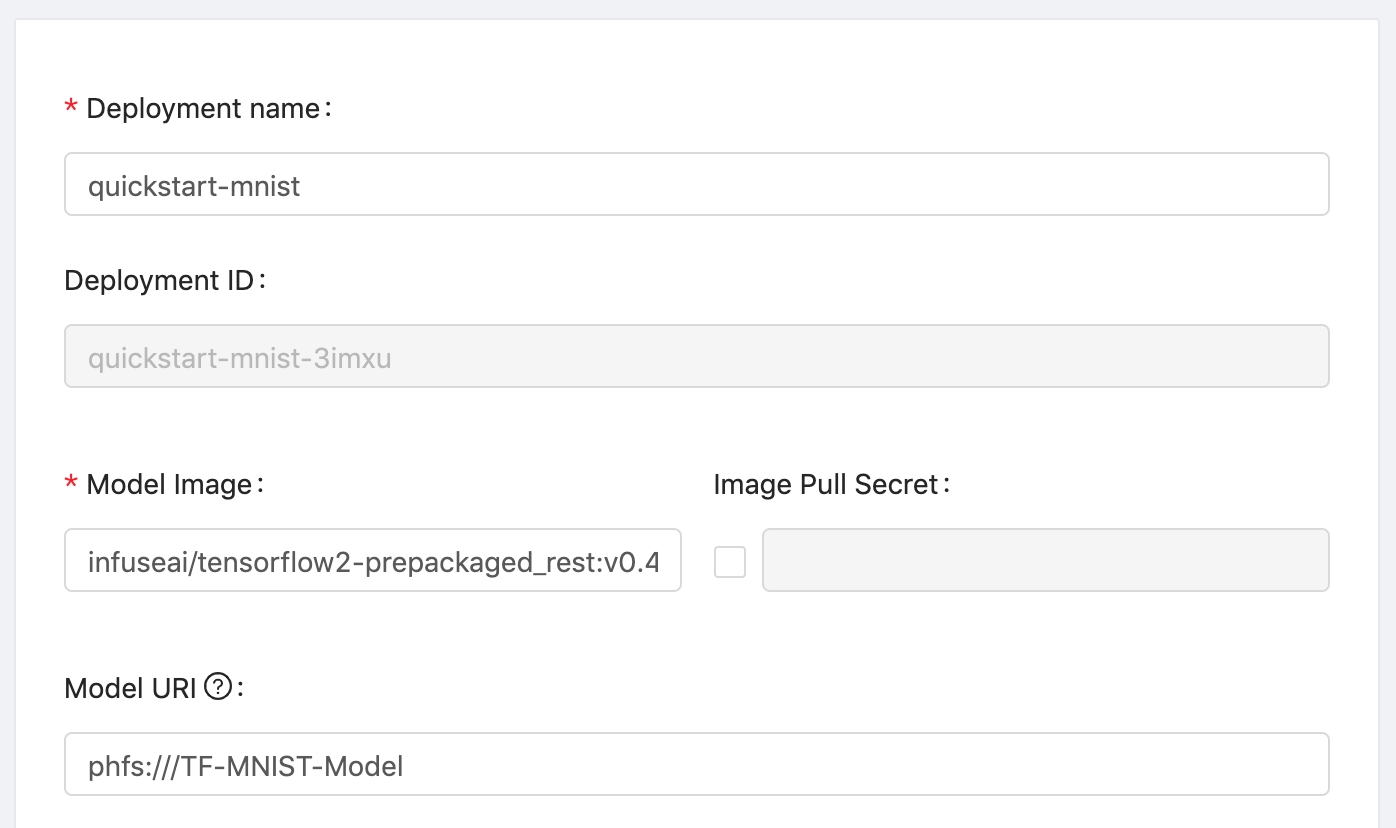
The model files could ship along with your image or can be downloaded until the model server starts. To download the file at startup, PrimeHub users could create a Deployment with Model URI:

PrimeHub users could create a Deployment with Model URI:

In the container's view, the model files will mount to a local filesystem, such as /mnt/models:

def __init__(self, model_uri=None):
    self.model_uri = model_uri
    ...

Please add the model_uri argument to the __init__ function and make sure to have None as the default value. It means your Model supporting with or without model_uri. If a user gives a Model URI value, the __init__ will get a mount path from the variable model_uri. You can check which files should be loaded in that path.

It is very common to write a load method to load and build model instance:

  def load(self):
    ...

You could build the model instance in the __init__, if your loading process is very simple. The load method is optional.

You might check Model URI to learn about it.

primehub-seldon-servers
skeleton
Dockerfile