Labeling the data
Introduction
The aim of the model is to detect a good or bad example of a screw from a given photograph. In this section, you will label photographs of screws that will be used to train your model.
Data labeling is a critical part of model development for machine learning. By using a well-defined dataset, data scientists can train effective models.
In this tutorial, we will:
Using Label Studio, an open-source data labeling tool, to label data and train a model. Label Studio is available as part of PrimeHub Apps, a convenient way to integrate 3rd-party apps into your ML Workflow.
Configure the Label Studio project setting and label the images.
Export the labeling Json-format output file.
What is Label Studio?
Label Studio is an open-source data labeling web platform. You can label the images, videos, texts, and audio to do your machine learning. It is convenient and easy to annotate the data files for the users. You can see more detail on the Label Studio Website and the documentation.
We can easily start the label studio platform in the PrimeHub platform. You can follow the document to learn how to create the label studio in PrimeHub Apps.
Prerequisites
Create a group and enable a shared volume for storage:
Download the images ZIP file and unzip the file.
End-to-end Steps
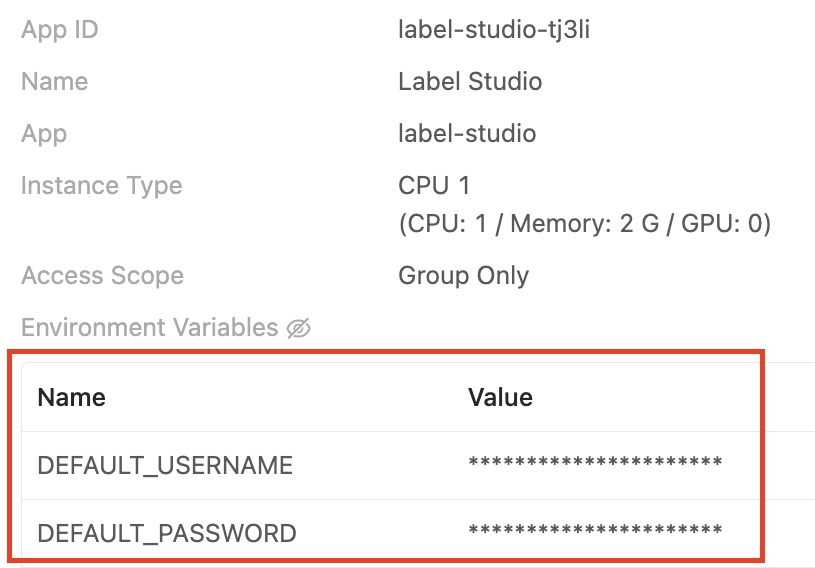
Step 1: Create a Label Studio PrimeHub App.
PrimeHub user portal → Apps → + Application → Label Studio → Fill in the information:
Name
label studio - screw
InstanceTypes
CPU 1
Step 2: Log into Label Studio.
Step 3: Create a Label Studio project.
Click Create → Fill in the information:
Project name
Screw Defect Detection
Data Import
Upload the screw image.
Labeling Setup
Custom Template → Fill in the code below.
<View>
<Image name="image" value="$image"/>
<Choices name="choice" toName="image">
<Choice value="good"/>
<Choice value="bad"/>
</Choices>
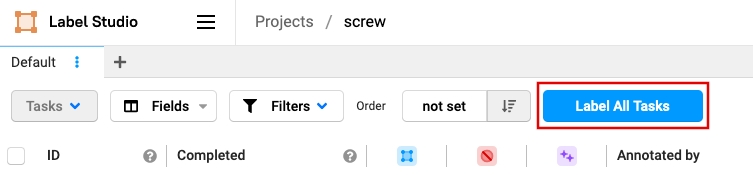
</View>Step 4: Label the images
In the screw project, click Label All Tasks to start labeling.
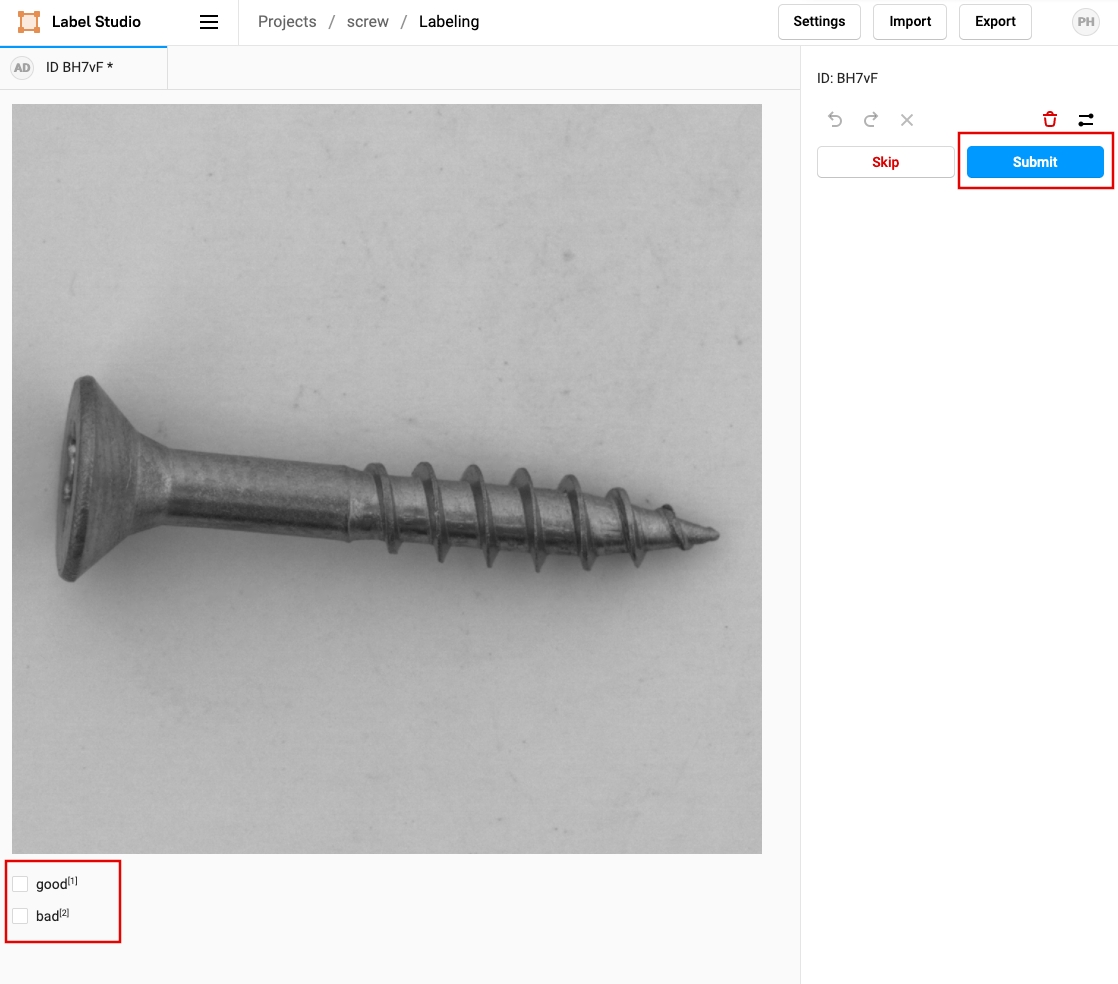
For each image, click either the good or bad checkbox, use the keyboard numbers 1 for good or 2 for bad, and then click the Submit button to proceed to the following image.
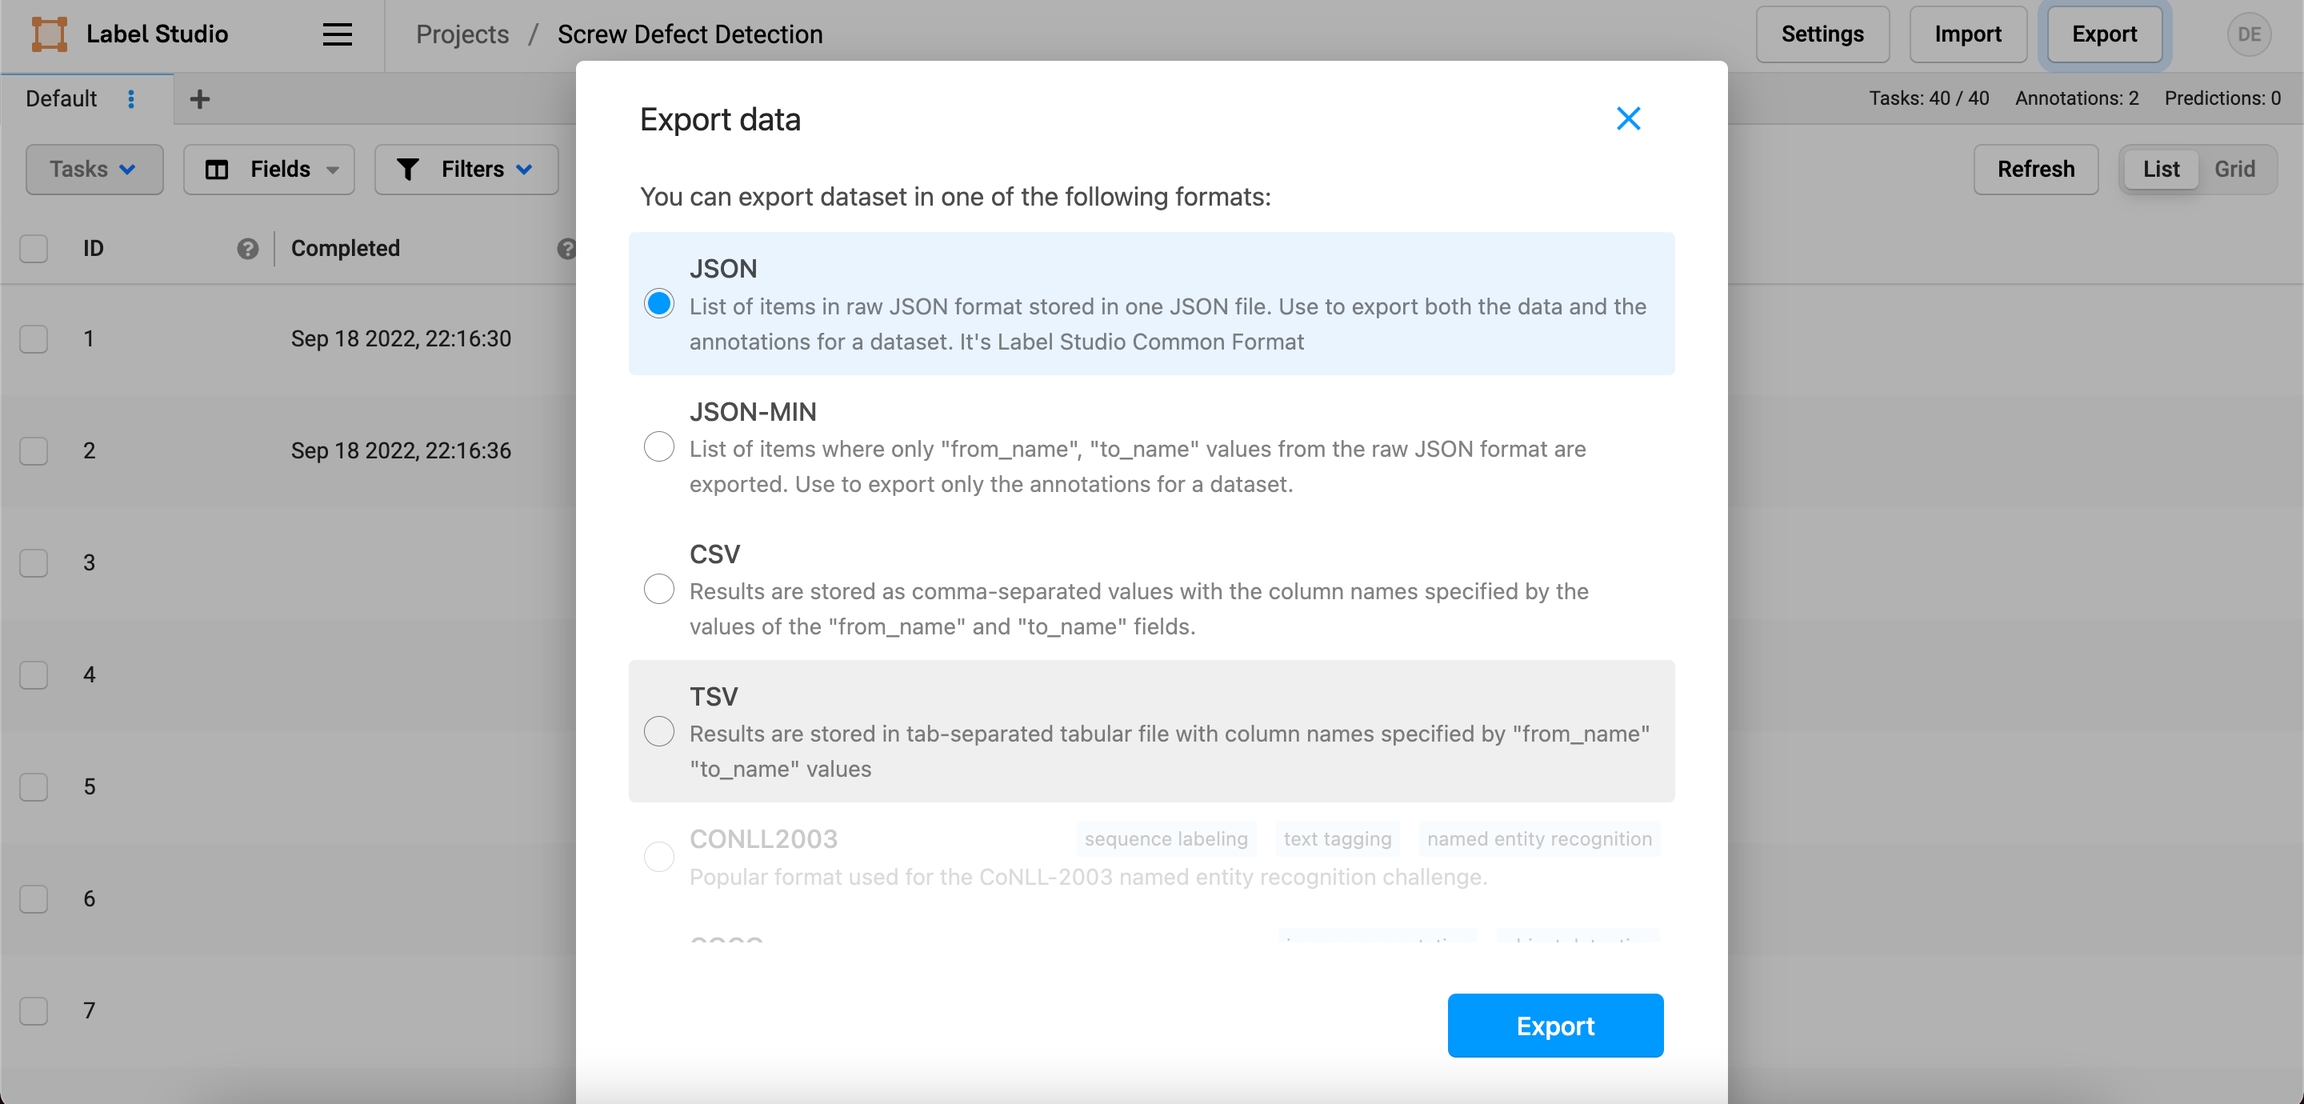
Step 5: Export the labeling output.
You can use the export UI to download the JSON-formatted files to your local computer.
Conclusion
In this tutorial, we have enabled a group volume, installed Label Studio via PrimeHub Apps, and labeled a set of images. Using the labeled dataset, we can move on to the next step.
Next Section
In the following tutorial, we will create a notebook to train the screw classification model and manage the model via MLFlow.