PrimeHub
v4.1
v4.1
  • Introduction
  • Installation
  • Tiers and Licenses
  • End-to-End Tutorial
    • 1 - MLOps Introduction and Scoping the Project
    • 2 - Train and Manage the Model
    • 3 - Compare, Register and Deploy the Model
    • 4 - Build the Web Application
    • 5 - Summary
  • User Guide
    • User Portal
    • Notebook
      • Notebook Tips
      • Advanced Settings
      • PrimeHub Notebook Extension
      • Submit Notebook as Job
    • Jobs
      • Job Artifacts
      • Tutorial
        • (Part1) MNIST classifier training
        • (Part2) MNIST classifier training
        • (Advanced) Use Job Submission to Tune Hyperparameters
        • (Advanced) Model Serving by Seldon
        • Job Artifacts Simple Usecase
    • Models
      • Manage and Deploy Model
      • Model Management Configuration
    • Deployments
      • Pre-packaged servers
        • TensorFlow server
        • PyTorch server
        • SKLearn server
        • Customize Pre-packaged Server
        • Run Pre-packaged Server Locally
      • Package from Language Wrapper
        • Model Image for Python
        • Model Image for R
        • Reusable Base Image
      • Prediction APIs
      • Model URI
      • Tutorial
        • Model by Pre-packaged Server
        • Model by Pre-packaged Server (PHFS)
        • Model by Image built from Language Wrapper
    • Shared Files
    • Datasets
    • Apps
      • Label Studio
      • MATLAB
      • MLflow
      • Streamlit
      • Tutorial
        • Create Your Own App
        • Create an MLflow server
        • Label Dataset by Label Studio
        • Code Server
    • Group Admin
      • Images
      • Settings
    • Generate an PrimeHub API Token
    • Python SDK
    • SSH Server Feature
      • VSCode SSH Notebook Remotely
      • Generate SSH Key Pair
      • Permission Denied
      • Connection Refused
    • Advanced Tutorial
      • Labeling the data
      • Notebook as a Job
      • Custom build the Seldon server
      • PrimeHub SDK/CLI Tools
  • Administrator Guide
    • Admin Portal
      • Create User
      • Create Group
      • Assign Group Admin
      • Create/Plan Instance Type
      • Add InfuseAI Image
      • Add Image
      • Build Image
      • Gitsync Secret for GitHub
      • Pull Secret for GitLab
    • System Settings
    • User Management
    • Group Management
    • Instance Type Management
      • NodeSelector
      • Toleration
    • Image Management
      • Custom Image Guideline
    • Volume Management
      • Upload Server
    • Secret Management
    • App Settings
    • Notebooks Admin
    • Usage Reports
  • Reference
    • Jupyter Images
      • repo2docker image
      • RStudio image
    • InfuseAI Images List
    • Roadmap
  • Developer Guide
    • GitHub
    • Design
      • PrimeHub File System (PHFS)
      • PrimeHub Store
      • Log Persistence
      • PrimeHub Apps
      • Admission
      • Notebook with kernel process
      • JupyterHub
      • Image Builder
      • Volume Upload
      • Job Scheduler
      • Job Submission
      • Job Monitoring
      • Install Helper
      • User Portal
      • Meta Chart
      • PrimeHub Usage
      • Job Artifact
      • PrimeHub Apps
    • Concept
      • Architecture
      • Data Model
      • CRDs
      • GraphQL
      • Persistence Storages
      • Persistence
      • Resources Quota
      • Privilege
    • Configuration
      • How to configure PrimeHub
      • Multiple Jupyter Notebook Kernels
      • Configure SSH Server
      • Configure Job Submission
      • Configure Custom Image Build
      • Configure Model Deployment
      • Setup Self-Signed Certificate for PrimeHub
      • Chart Configuration
      • Configure PrimeHub Store
    • Environment Variables
Powered by GitBook
On this page
  • Install MLflow
  • MLflow UI
  • Use MLflow Tracking in PrimeHub
  1. User Guide
  2. Apps
  3. Tutorial

Create an MLflow server

PreviousCreate Your Own AppNextLabel Dataset by Label Studio

This tutorial covers the basic flow to help you get started with MLflow in PrimeHub.

Install MLflow

First, you need to install it in the Apps tab. Please check the section to learn how to install an App. In the installing process, you can change the backend store and artifact store environment variables. If you don't know the meaning of the environment variables, can just use the default values or check the and Our Setting for more details.

MLflow UI

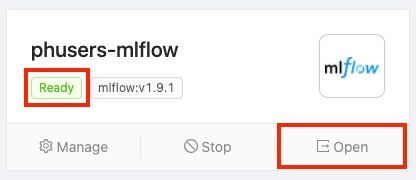
PrimeHub shows the app's state in the Apps tab. You can open the MLflow UI by clicking Open after the state becomes Ready.

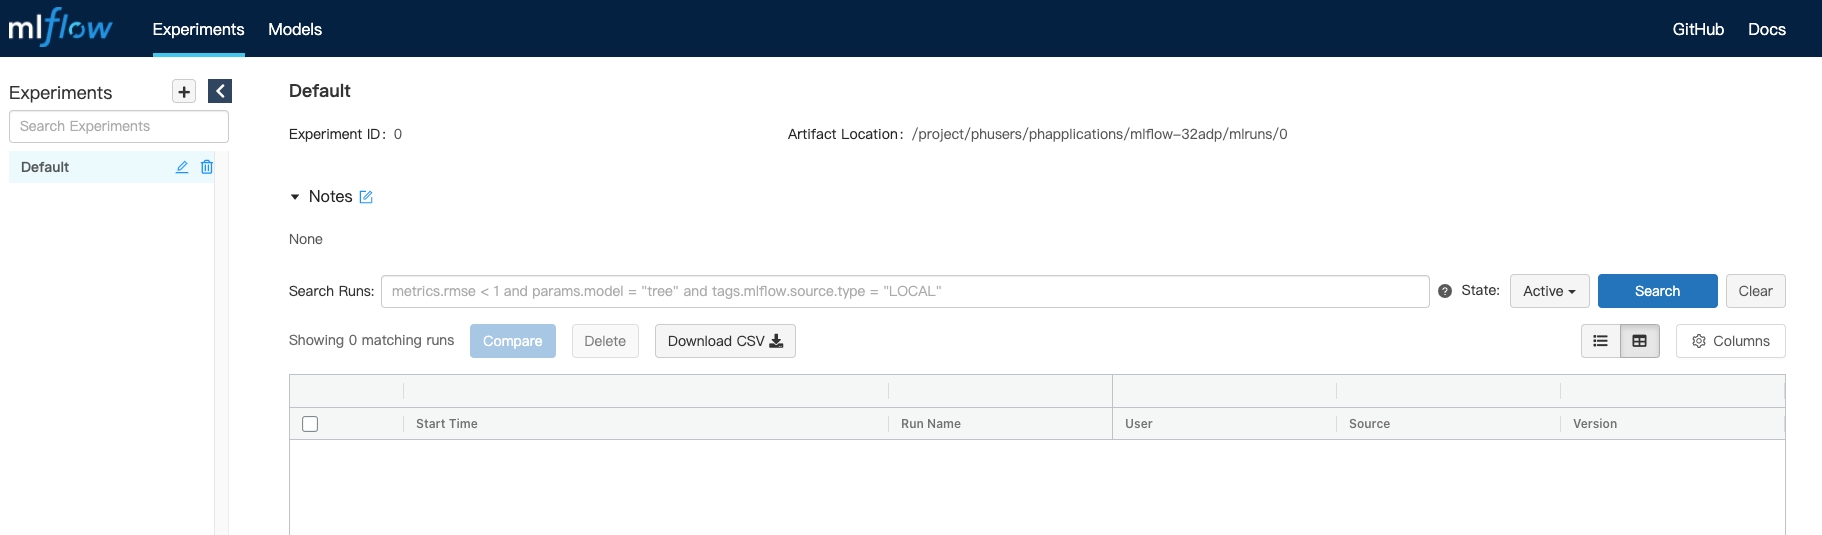
It will open a new window and show the MLflow UI. You can see your experiments and runs in this UI. We will show you how to record a run in an experiment by using the PrimeHub Notebook function in the next section.

Use MLflow Tracking in PrimeHub

Binding MLflow App to Models (EE Way)

Steps

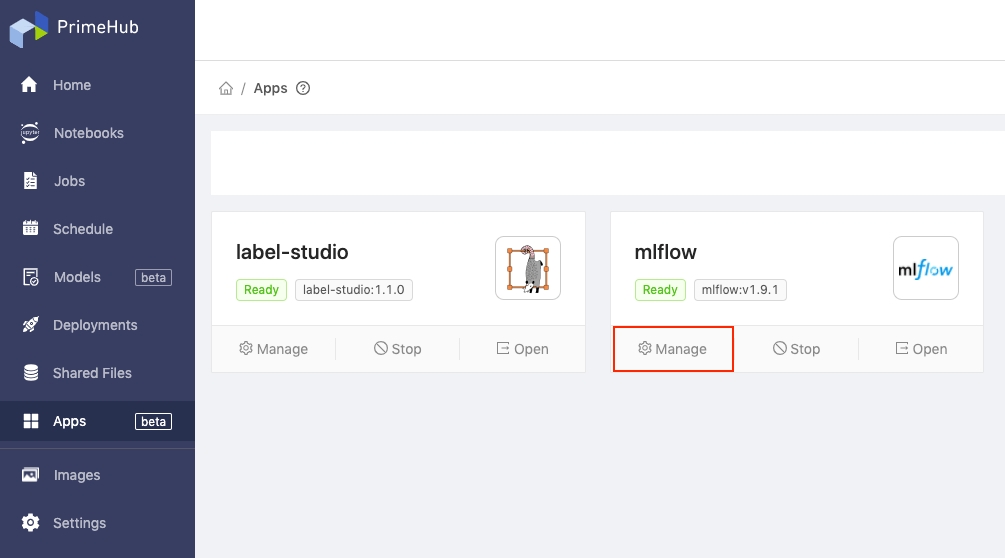
On the Apps page, find MLflow and click Manage.flow

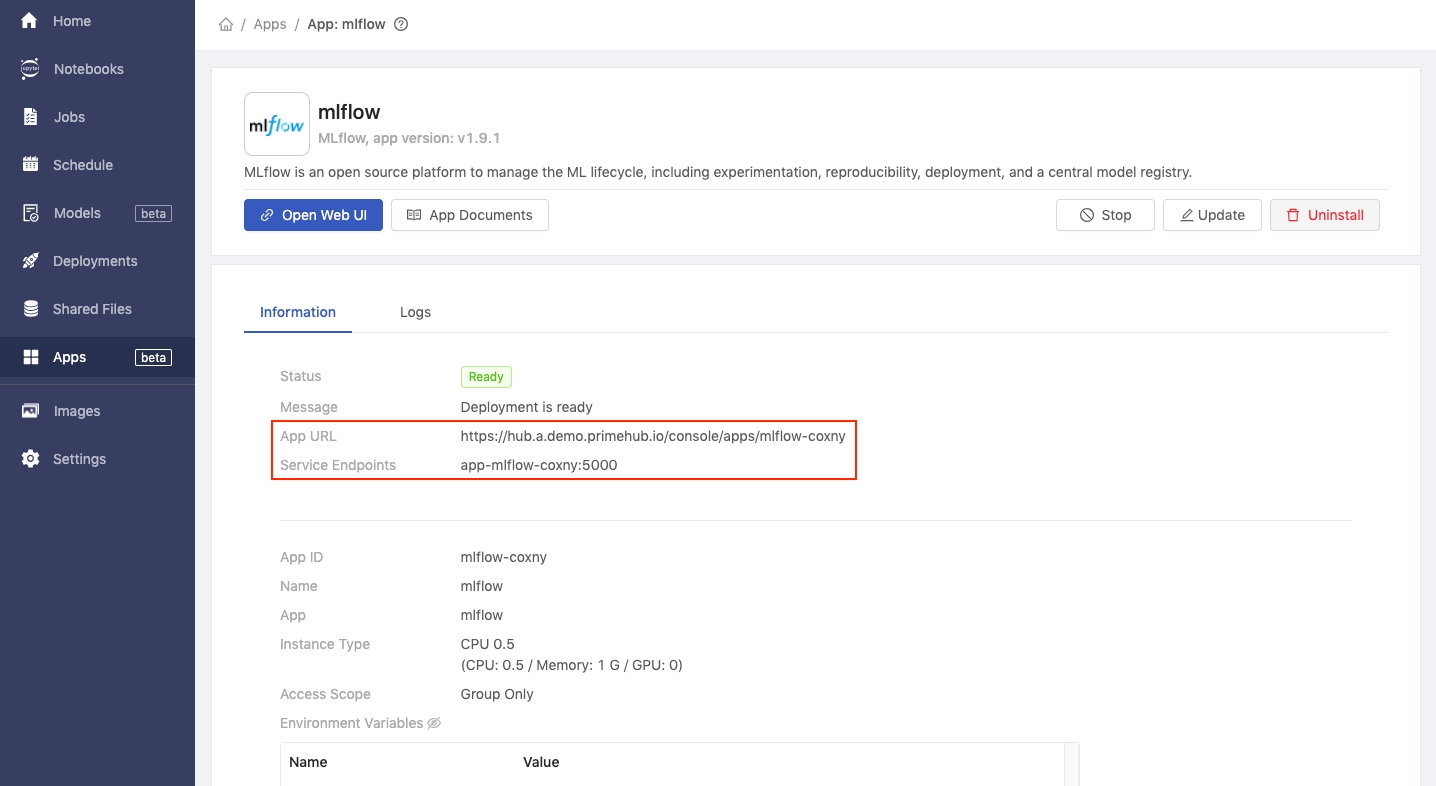
Make a note of the App URL and Service Endpoints values.

Click Settings in the left sidebar and then click the MLflow tab.

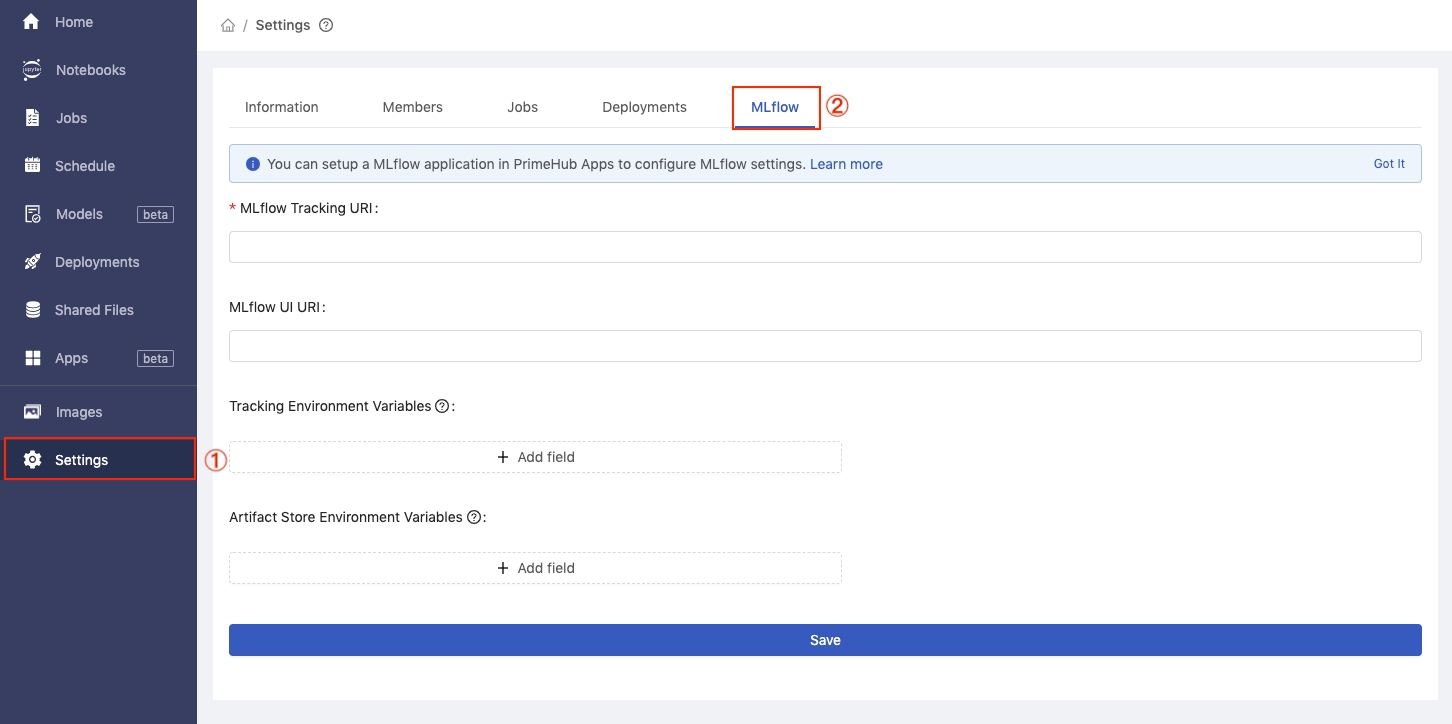
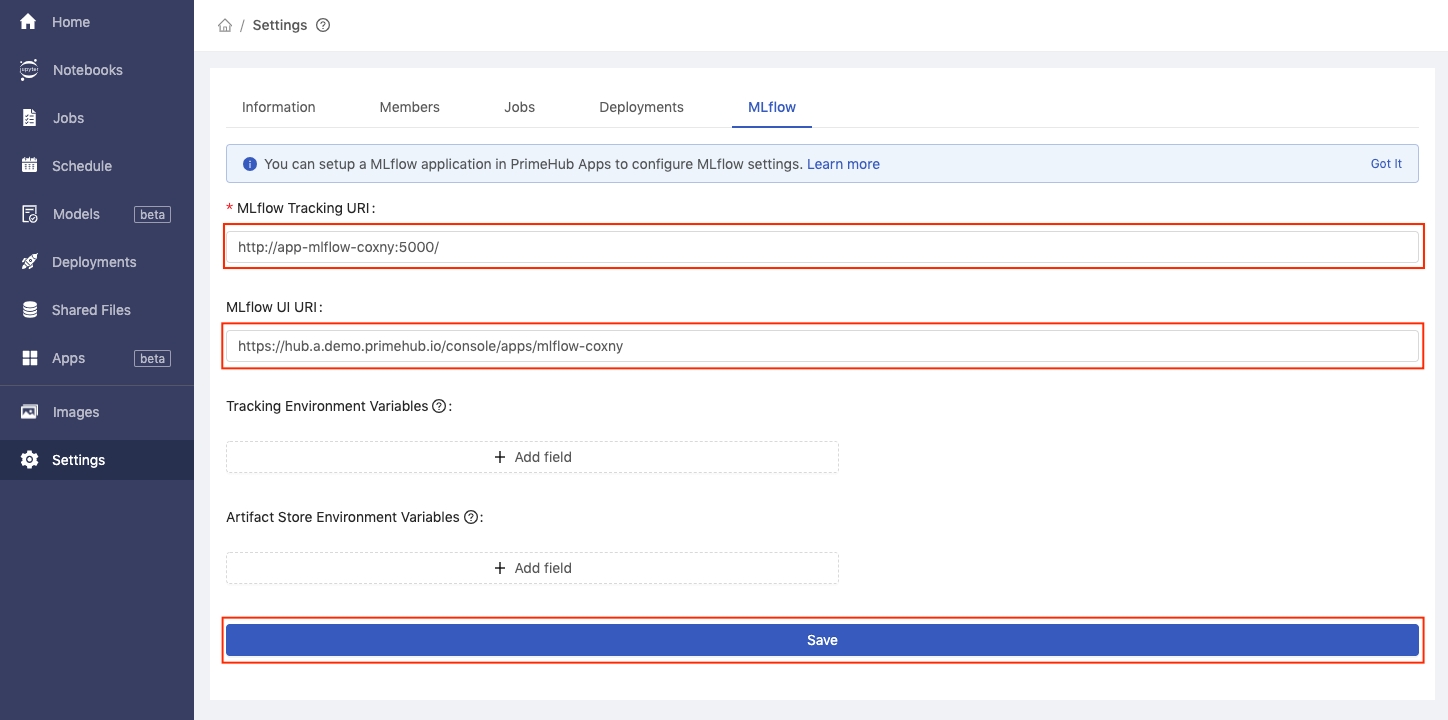
In the MLflow Tracking URI text field enter the service endpoints value we copied earlier, preceded by ‘http://’. E.g. http://your-service-endpoints

In the MLflow UI URI text field enter the App URL value we copied earlier. Then, click the Save button.

Using MLflow API from Notebook (CE Way)

  • The image infuseai/docker-stacks:tensorflow-notebook-v2-4-1-5b5a244c

  • An instance type >= minimal requirement (CPU=1, GPU=0, Mem=2G)

  • The prepared notebook file of the example

    Download app_tutorial_mlflow_demo_notebook.ipynb

  • Choose a group with enabled Shared Volume (a.k.a Group Volume)

Please have the image, the instance type on PrimeHub, or request administrators for assistance before we start.

Steps

  1. Enter Notebook from User Portal, select the image, the instance type, and start a notebook.

  2. From File Browser of Notebook, navigate into the directory of <group_name> which is a Group Volume; here mlflow is our working group.

  3. While inside the group volume, copy/drag the downloaded app_tutorial_mlflow_demo_notebook.ipynb there in File Browser and open it.

  4. Open the notebook, and change the line mlflow.set_tracking_uri("http://app-mlflow-32adp:5000/") into the proper link based on the detail page in the Apps tab.

  5. Copy the Service Endpoint value and replace app-mlflow-32adp:5000 in the notebook to this value.

  6. Run All Cells in the notebook, you will see a new run in internal-experiment in the MLflow UI.

That's the basic use of how to track your machine learning experiments by using MLflow and PrimeHub.

With a running MLflow App, we can bind MLflow service to . Once binding, on Models, we can view registered models, furthermore deploy these models via Deployments at ease on PrimeHub.

Models Management
Overview
MLflow Official Doc
4KB
app_tutorial_mlflow_demo_notebook (1).ipynb