2 - Train and Manage the Model
Introduction
In this tutorial, we will do the following.
Train our model using the labeled data.
Use MLFLow to manage the model parameters, metrics, and artifact files.
What is MLFlow?
MLFlow is an open-source platform to manage the machine learning model, including training parameters, metrics, and artifacts. All the data scientists can check the information in the platform and know how to improve the machine learning model. Find out more at the following links.
The PrimeHub platform integrates MLFlow as the model management function. You can see the result on the PrimeHub model page. You can see the detailed information here:
Step 1: Create the MLflow Server
To track our experiments, we must first install MLflow, which is available as part of PrimeHub Apps. Use the guide at the following link to install MLflow:
Step 2: Training the model
1. Create Jupyter Notebook
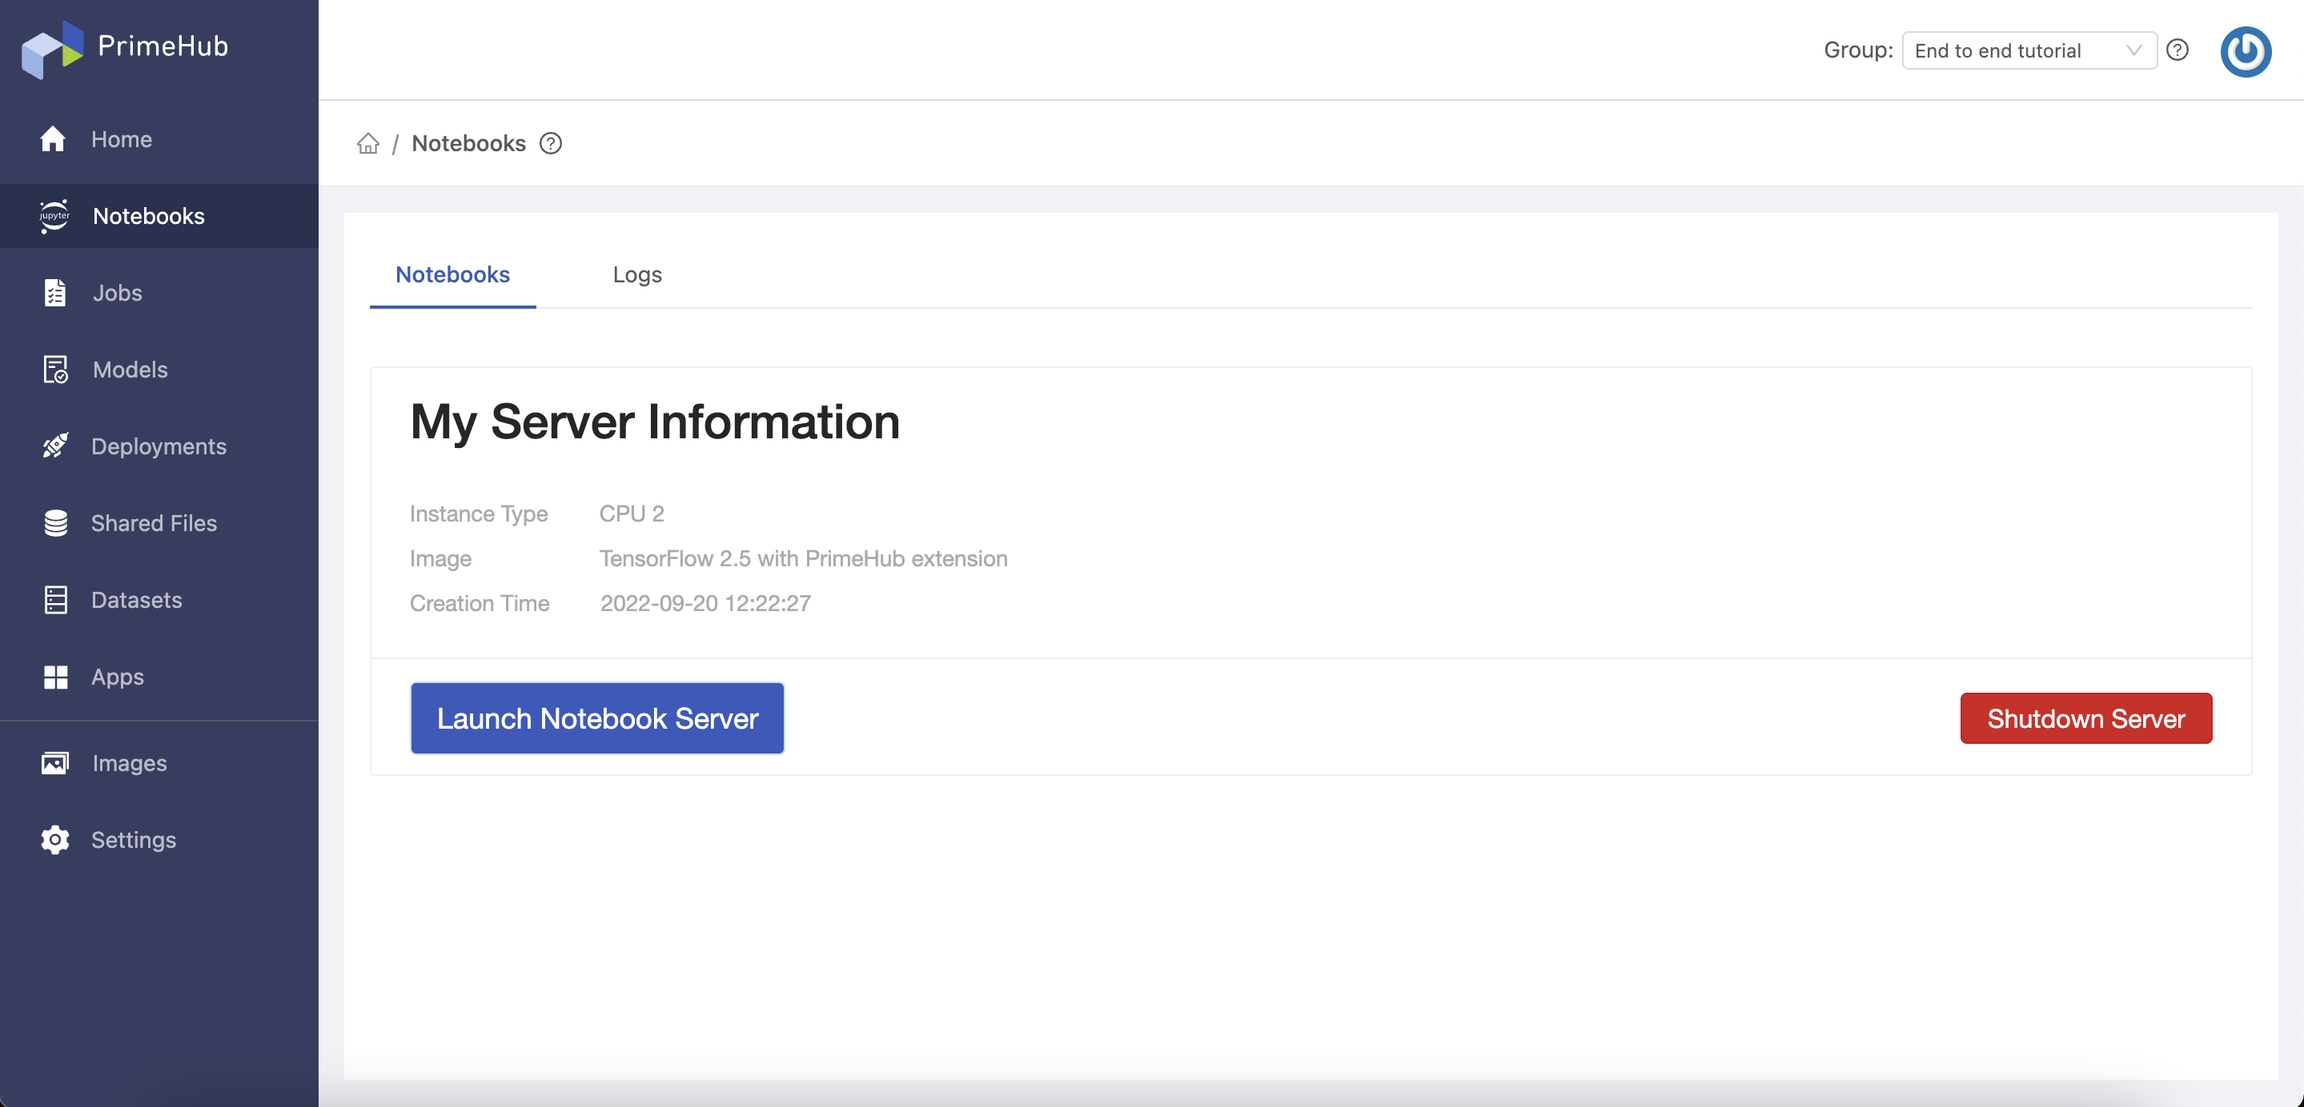
PrimeHub UI → User portal → Notebook → Choose the instance type and Jupyter image → Start the Notebook
Instance Type
CPU 2
Image
Tensorflow 2.5
When the notebook has started, you will see the My Server Information page:
2. Download the tutorial project code
Jupyter Notebook → Create terminal → Run the following commands
$ cd <group-name>
$ git clone https://github.com/InfuseAI/primehub-screw-detection.git
$ cd primehub-screw-detection
Open the Notebook and modify the variables
# Kaggle connection
kaggle_username = <kaggle-username>
kaggle_key = <kaggle-key>

# Label Data file
label_data_file_path = "project-6-at-2022-09-19-04-17-b9f72b54.json"3. Run the Notebook and train the model
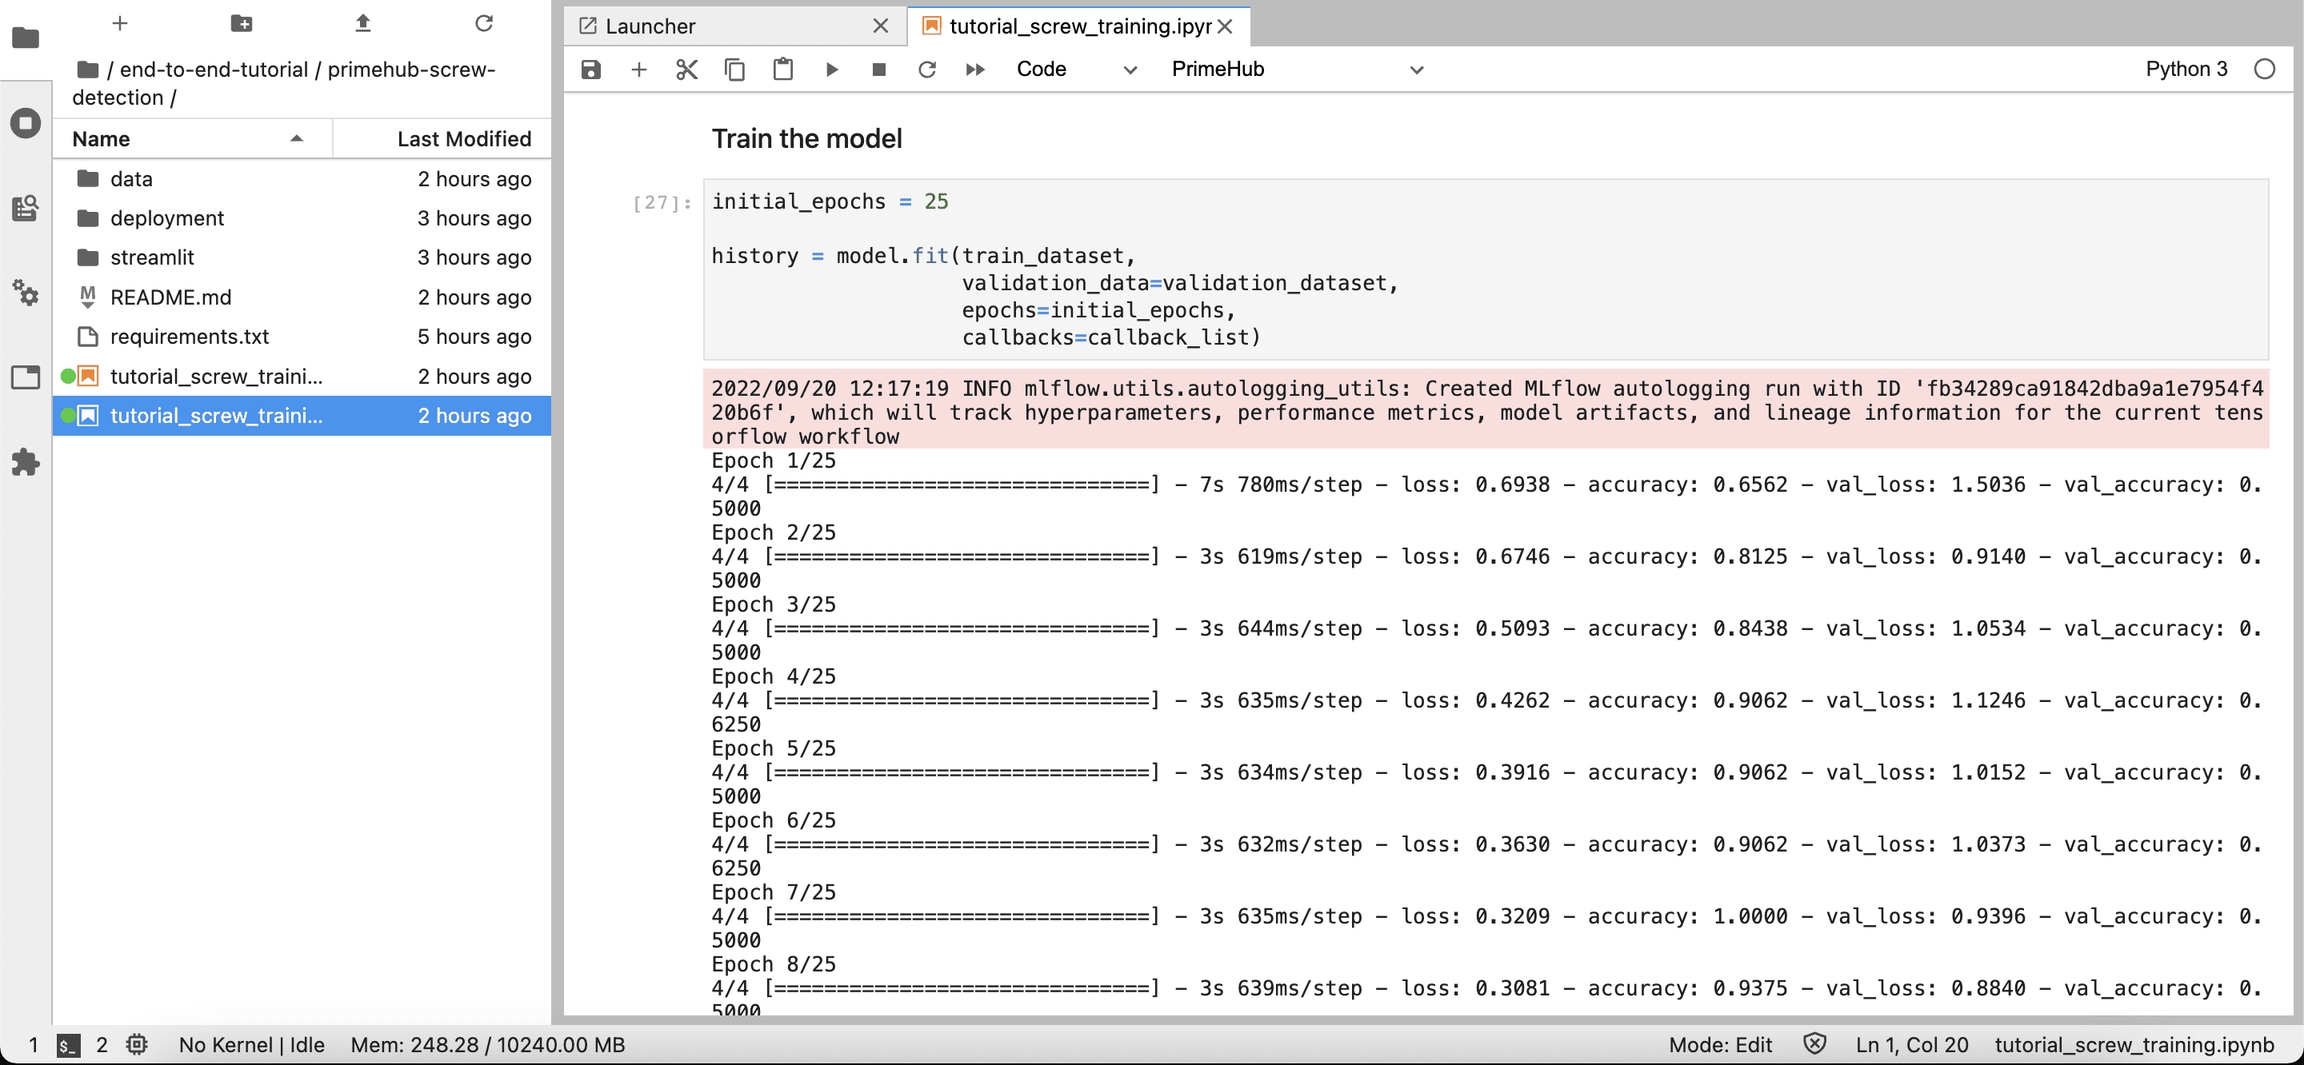
Note: If you want to run the training Notebook in the background job, we also support submitting the Jupyter Notebook as a job method. Please see the advanced tutorial section for details.
Step 3: Use MLFlow to manage the model
In the training code, we write the following code. MLFlow can help us record the parameters, metrics, and artifact files into the platform. We can manage the model via the MLFlow platform.
import mlflow
mlflow.set_experiment("tutorial_screw_train")
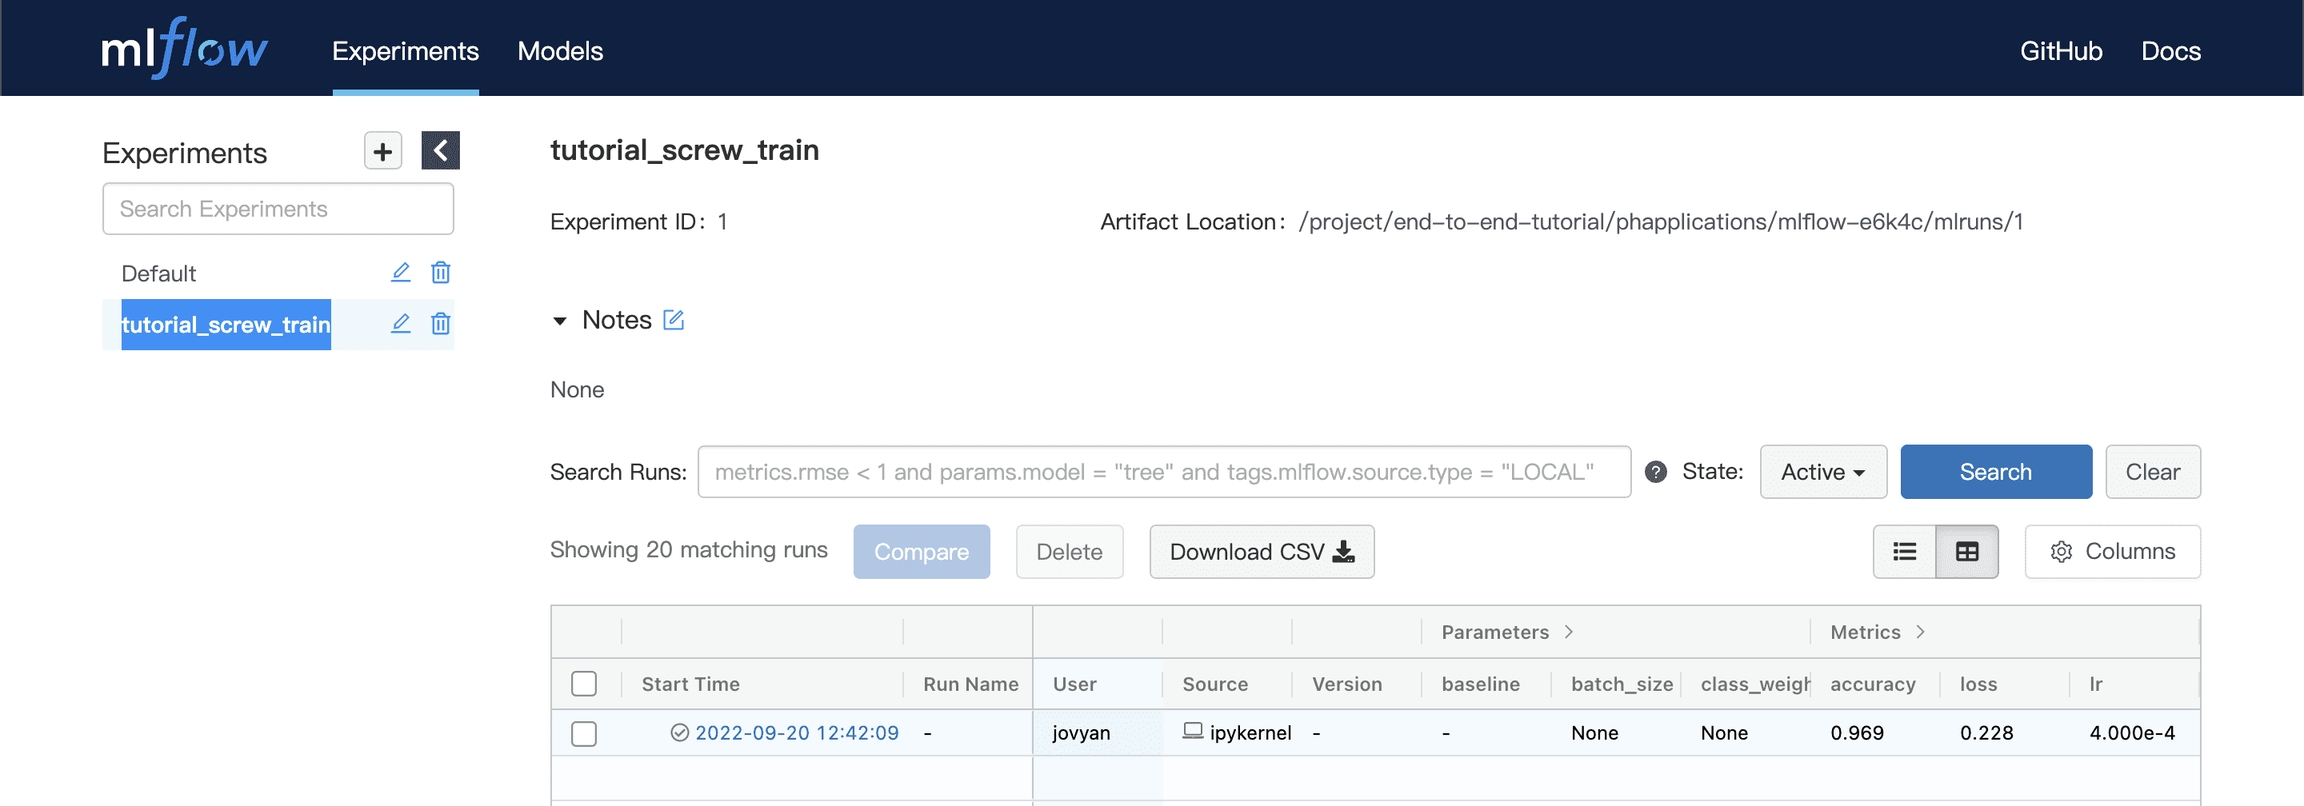
mlflow.tensorflow.autolog()As a result, we can go back to the PrimeHub user portal, open the MLFlow platform and see the model result in the MLFlow server.
→ PrimeHub User portal → models → MLFlow UI → (In MLFlow) Experiments → tutorial_screw_train
Step 4: Change the parameter for tuning the model
When we successfully build the machine learning model, we need to give experiments for tuning the machine learning model to be the best.
Change the variable value and run the Notebook again:
Please change the
base_learning_ratevariable value and run the Notebook again:base_learning_rate = 0.01→base_learning_rate = 0.05Then you will see the second experiment result in MLFlow platform.

Conclusion
In this tutorial we have done the following.
Installed MLflow in PrimeHub Apps
Connected the MLFlow to PrimeHub in the PrimeHub settings
Trained our model in PrimeHub Notebook
Check the modal management content in the MLFlow Platform.
Use different parameters for tuning the model.
Next Section
In the next tutorial, we will analyze the two sets of results, manage the trained models, and deploy the best model to the cloud.