PrimeHub
  • Introduction
  • Installation
  • Tiers and Licenses
  • End-to-End Tutorial
    • 1 - MLOps Introduction and Scoping the Project
    • 2 - Train and Manage the Model
    • 3 - Compare, Register and Deploy the Model
    • 4 - Build the Web Application
    • 5 - Summary
  • User Guide
    • User Portal
    • Notebook
      • Notebook Tips
      • Advanced Settings
      • PrimeHub Notebook Extension
      • Submit Notebook as Job
    • Jobs
      • Job Artifacts
      • Tutorial
        • (Part1) MNIST classifier training
        • (Part2) MNIST classifier training
        • (Advanced) Use Job Submission to Tune Hyperparameters
        • (Advanced) Model Serving by Seldon
        • Job Artifacts Simple Usecase
    • Models
      • Manage and Deploy Model
      • Model Management Configuration
    • Deployments
      • Pre-packaged servers
        • TensorFlow server
        • PyTorch server
        • SKLearn server
        • Customize Pre-packaged Server
        • Run Pre-packaged Server Locally
      • Package from Language Wrapper
        • Model Image for Python
        • Model Image for R
        • Reusable Base Image
      • Prediction APIs
      • Model URI
      • Tutorial
        • Model by Pre-packaged Server
        • Model by Pre-packaged Server (PHFS)
        • Model by Image built from Language Wrapper
    • Shared Files
    • Datasets
    • Apps
      • Label Studio
      • MATLAB
      • MLflow
      • Streamlit
      • Tutorial
        • Create Your Own App
        • Create an MLflow server
        • Label Dataset by Label Studio
        • Code Server
    • Group Admin
      • Images
      • Settings
    • Generate an PrimeHub API Token
    • Python SDK
    • SSH Server Feature
      • VSCode SSH Notebook Remotely
      • Generate SSH Key Pair
      • Permission Denied
      • Connection Refused
    • Advanced Tutorial
      • Labeling the data
      • Notebook as a Job
      • Custom build the Seldon server
      • PrimeHub SDK/CLI Tools
  • Administrator Guide
    • Admin Portal
      • Create User
      • Create Group
      • Assign Group Admin
      • Create/Plan Instance Type
      • Add InfuseAI Image
      • Add Image
      • Build Image
      • Gitsync Secret for GitHub
      • Pull Secret for GitLab
    • System Settings
    • User Management
    • Group Management
    • Instance Type Management
      • NodeSelector
      • Toleration
    • Image Management
      • Custom Image Guideline
    • Volume Management
      • Upload Server
    • Secret Management
    • App Settings
    • Notebooks Admin
    • Usage Reports
  • Reference
    • Jupyter Images
      • repo2docker image
      • RStudio image
    • InfuseAI Images List
    • Roadmap
  • Developer Guide
    • GitHub
    • Design
      • PrimeHub File System (PHFS)
      • PrimeHub Store
      • Log Persistence
      • PrimeHub Apps
      • Admission
      • Notebook with kernel process
      • JupyterHub
      • Image Builder
      • Volume Upload
      • Job Scheduler
      • Job Submission
      • Job Monitoring
      • Install Helper
      • User Portal
      • Meta Chart
      • PrimeHub Usage
      • Job Artifact
      • PrimeHub Apps
    • Concept
      • Architecture
      • Data Model
      • CRDs
      • GraphQL
      • Persistence Storages
      • Persistence
      • Resources Quota
      • Privilege
    • Configuration
      • How to configure PrimeHub
      • Multiple Jupyter Notebook Kernels
      • Configure SSH Server
      • Configure Job Submission
      • Configure Custom Image Build
      • Configure Model Deployment
      • Setup Self-Signed Certificate for PrimeHub
      • Chart Configuration
      • Configure PrimeHub Store
    • Environment Variables
Powered by GitBook
On this page
  • Introduction
  • Input Parameters and API Access
  • Submit Notebook Jobs
  1. User Guide
  2. Advanced Tutorial

Notebook as a Job

Submit PrimeHub Notebook as a PrimeHub Job

PreviousLabeling the dataNextCustom build the Seldon server

Last updated 2 years ago

Introduction

If you want to run the jupyter notebook in the background, you can submit your PrimeHub Notebook to the Job, and then we can see the result after the Job is done.

Input Parameters and API Access

Now that we have a runnable notebook to train the screw classification model, we can tweak parameter values and then submit our notebook as a job via the .

Tweak Parameters

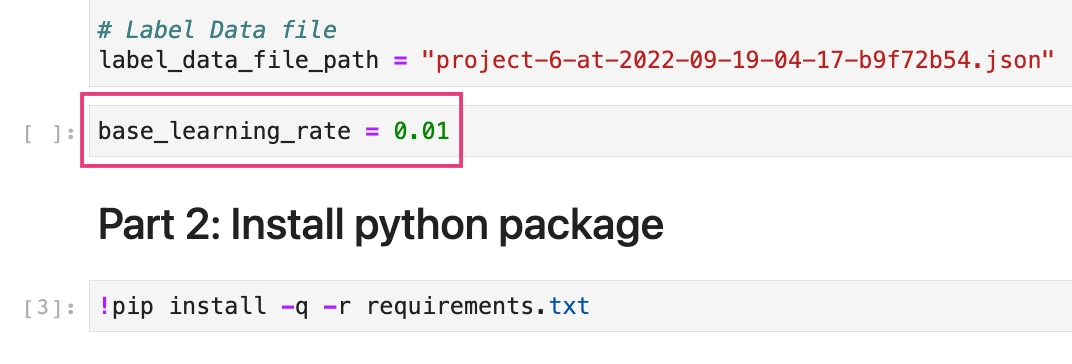
First, let's allow the editing of the base_learning_rate input parameter. This will enable us to submit jobs with a different learning rate and compare model accuracy.

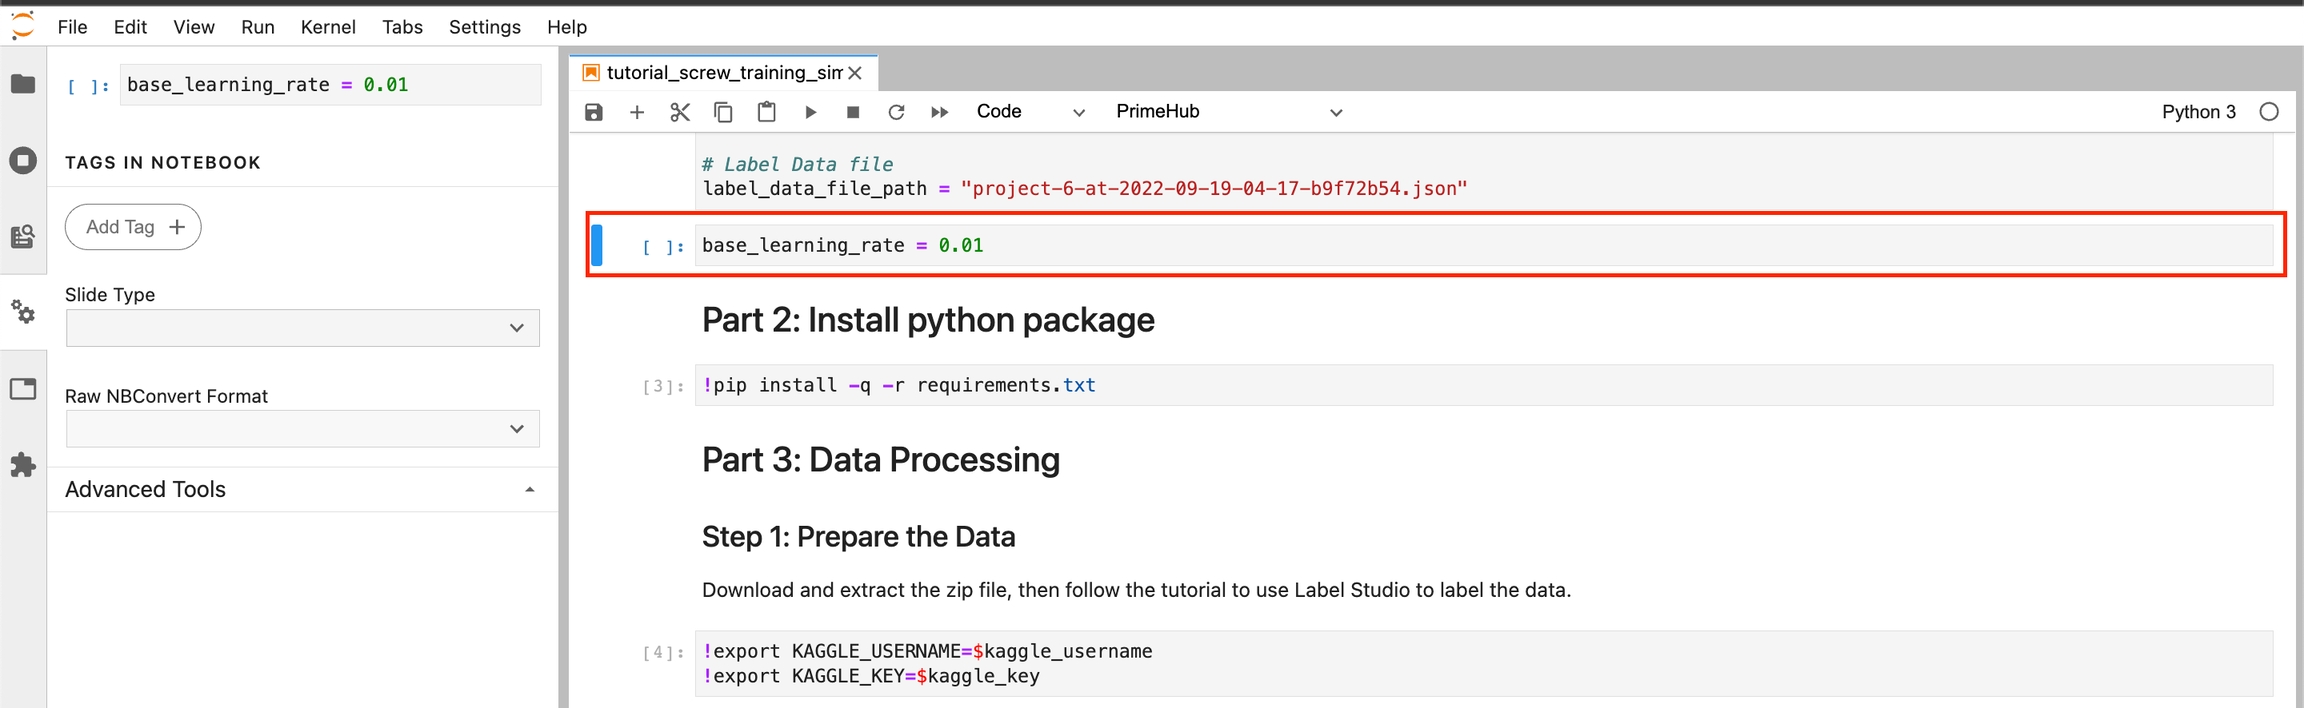
Click the Property Inspector button.

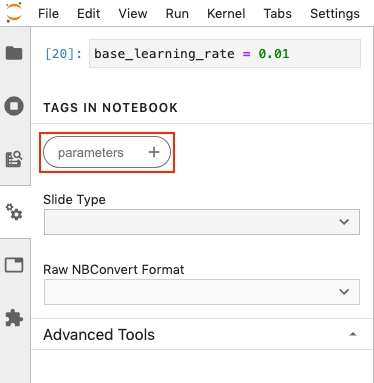
Click Add Tag and enter parameters as the tag name, then click the + icon to add the tag. Adding this tag allows us to override the base_learning_rate.

Set up an API Token

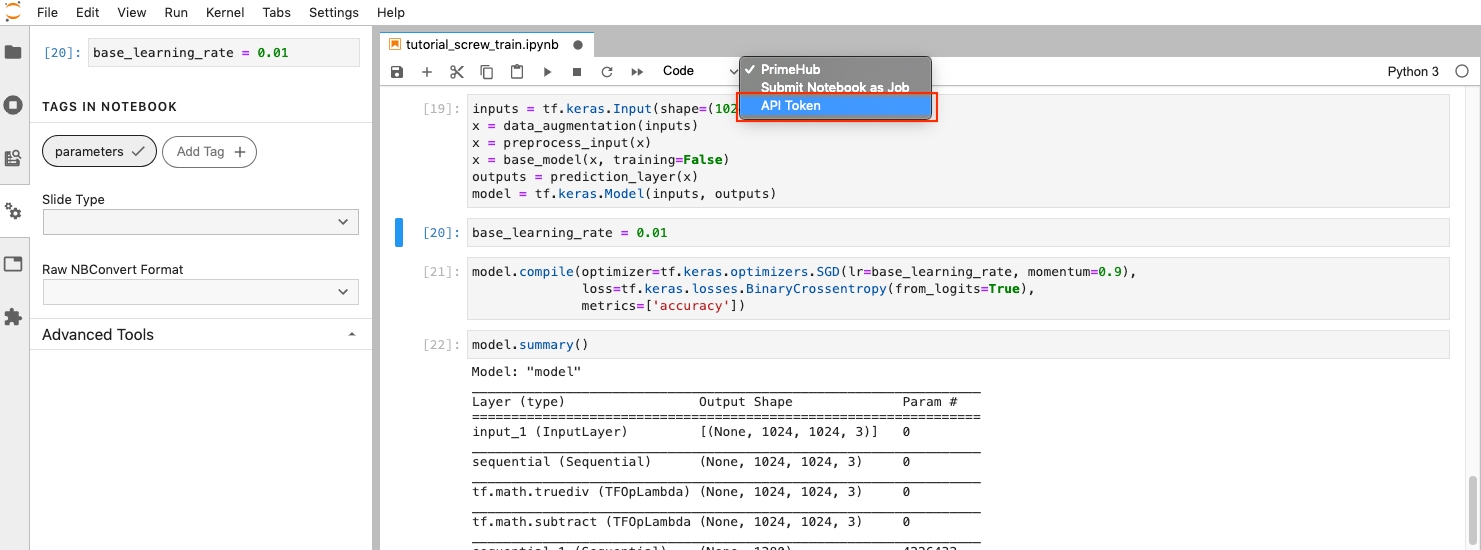
Click on the PrimeHub dropdown menu in the toolbar, then click API Token.

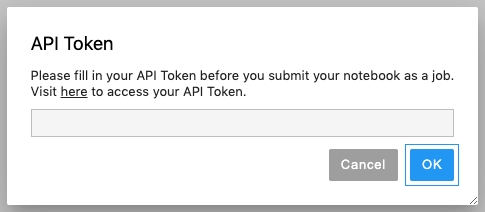
In the pop-up dialog, you will see the message Visit here to access your API token. Click the here link in the pop-up dialogue, and the PrimeHub API Token page will open in a new tab.

On the API Token page, click the Request API Token button.

Click the Copy button to copy the API token to your clipboard.

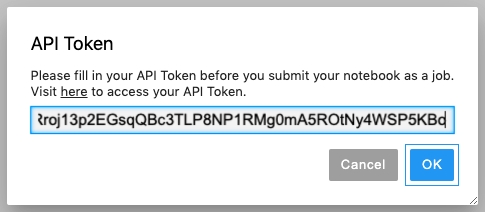
Go back to your notebook, paste the API token into the text field, and click OK.

Submit Notebook Jobs

With API access now configured, we can submit notebook jobs.

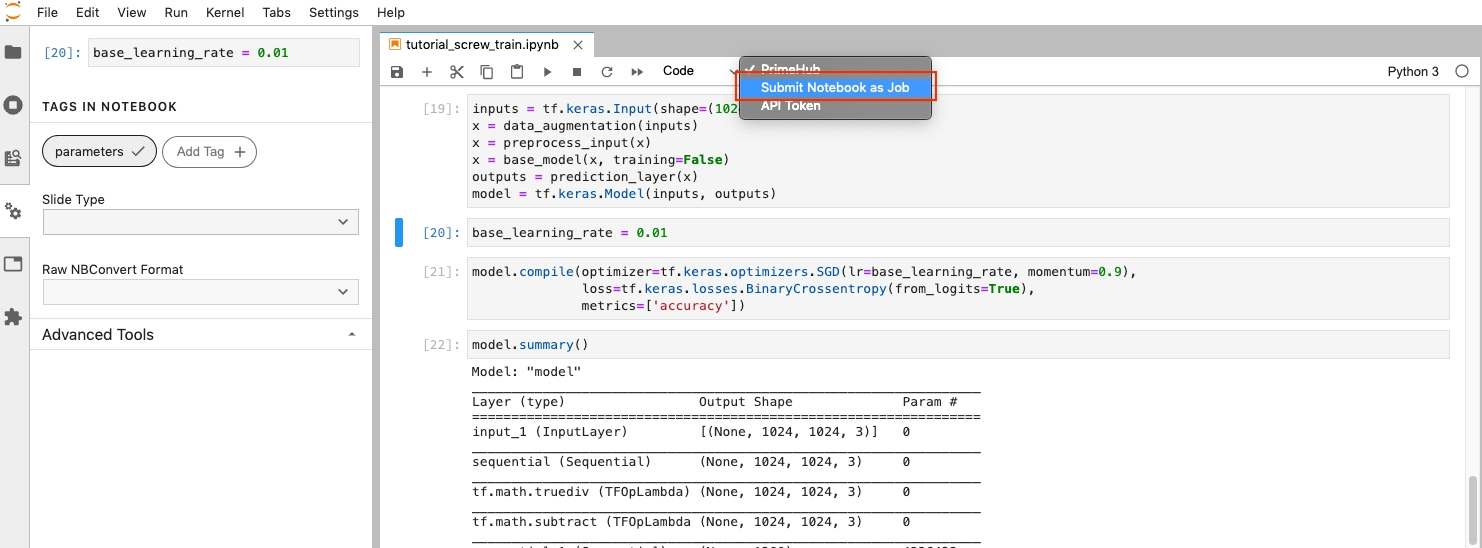
Click the PrimeHub dropdown in the toolbar again, but this time click Submit Notebook as Job.

In the pop-up dialog, we can adjust the following settings:

Variable
Meaning
Value

Instance Type

Adjust computational resources

CPU 2

Image

Notebook environment

Tensorflow 2.5 with PrimeHub extension

Job Name

The job of name

tf-screw-training-lr-0.05

Notebook Parameters

The parameters we can modify without changing the Notebook value.

base_learning_rate = 0.05

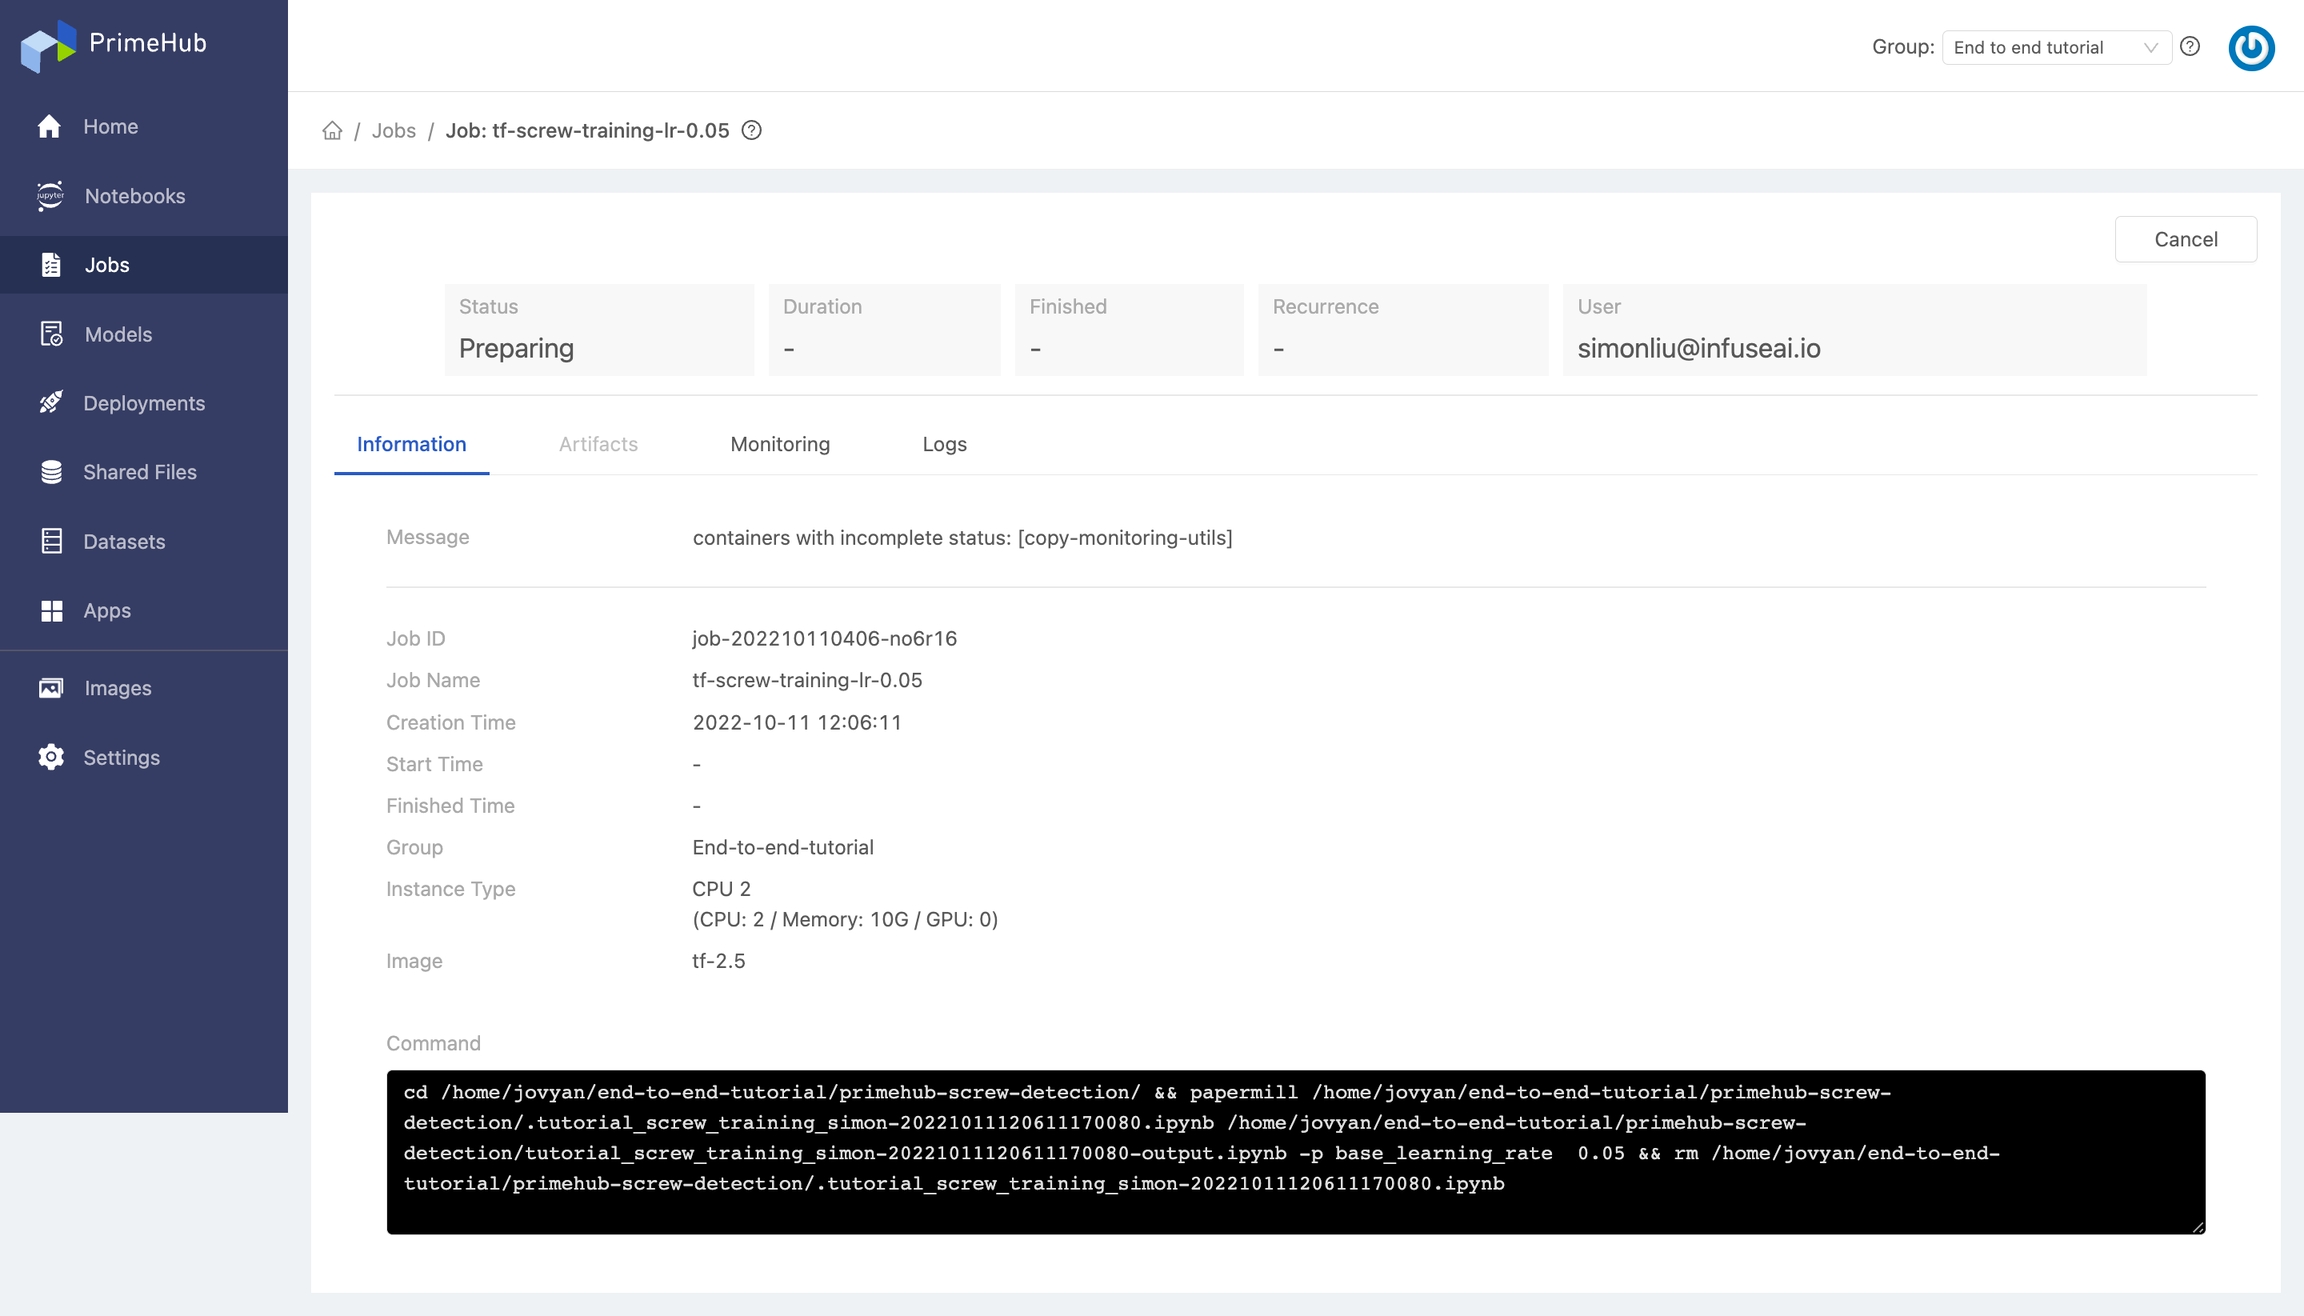
After you Submit the Job, you can see the following message.

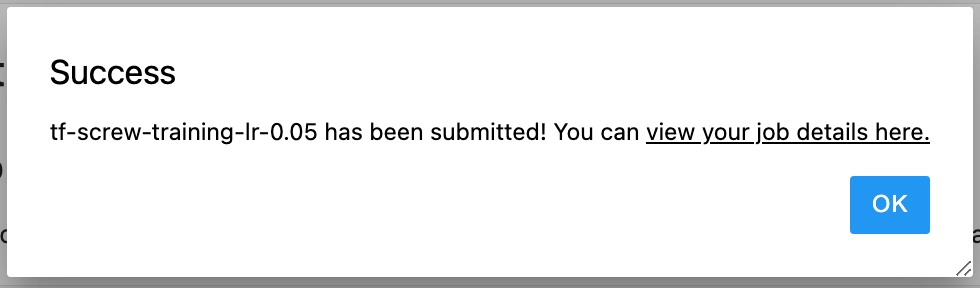
You can click view your job details here to get the job information.

To submit the notebook as a job, we need to set up an .

API Token
PrimeHub Notebook Extension