Label Dataset by Label Studio
This tutorial covers the basic flow to help you get started with Label Studio in PrimeHub.
Install Label Studio
First, you need to install it in the Apps tab. Please check the Overview section to learn how to install an App.
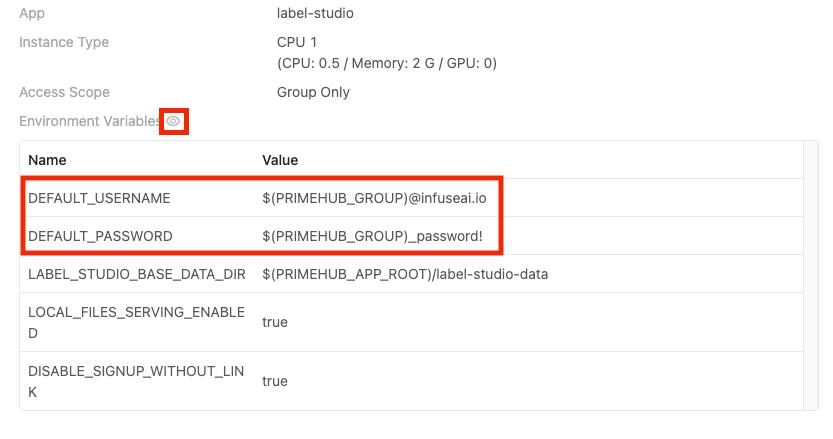
In the installing process, you can change the environment variables.
DEFAULT_USERNAME and DEFAULT_PASSWORD are the login account information. You can change them and use them to log into Label Studio after installed.
If you don't know the meaning of other environment variables, you can use the default values or check the Label Studio Official Doc or the tooltip beside the environment variable for more details.
Label Studio UI
PrimeHub shows the app's state in the Apps tab. You can open the Label Studio UI by clicking Open after the state becomes Ready.
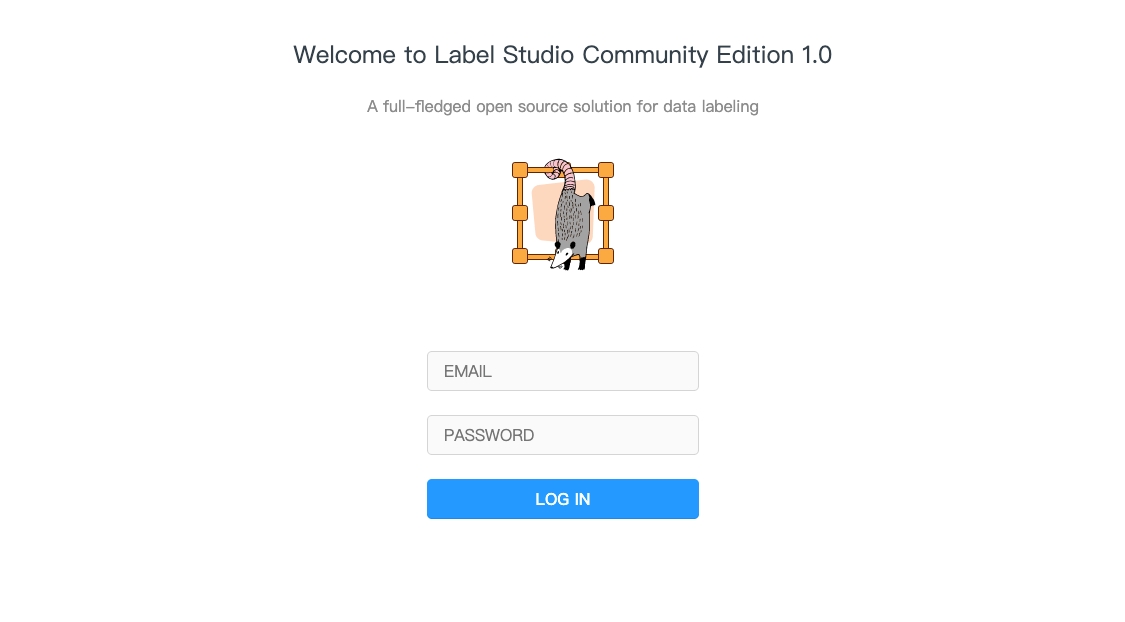
It will open a new window and show the Label Studio UI. You can find your login information by clicking Manage in the Apps tab and then clicking the eyes icon. The $(PRIMEHUB_GROUP) is the group name.
Label Dataset
What we need?
The dataset in PrimeHub you want to label (we use
/datasets/dog-demoin this tutorial)The directory in group volume that you want to save the labeled results (we use
/project/<group_name>/dog-demo-labeledin the tutorial)
Steps
After login, please click
Createbutton.
Enter your
Project Name. Skip theData Importstep. And choose theLabeling Setup. Here we chooseSemantic Segmentation with Polygons.Delete the original
Labelssettings andAddour own label names.
Sync the data file folder with label studio.
Click the Settings on the upper-right.

Click Cloud Storage and Add Source Storage to sync the data volume to label

Configure the source storage setting:
VariableValueStorage type
Local path
Absolute local path
/datasets/dog-demo/
File Filter Regex
.*jpeg
Treat every bucket object as a source file
Enable

Click the Sync Storage to sync the data volume
Click
Add Target Storageto sync to labeled results to/project/<group_name>/dog-demo-labeled. You need to setLocal pathto/project/<group_name>/dog-demo-labeled.
Back to the project in Label Studio. The data in the data volume has been shown on the UI. And you can click each row of data to label.


After you submit the labeled result, the labeled json file will be under the
/project/<group_name>/dog-demo-labeled.
That's the basic use of how to label the dataset by using Label Studio and PrimeHub. Enjoy it!
How to Use Labeled Data to Train a Model
In the last section, we show you how to label the dataset. Now, we want to demonstrate how you can use the labeled data to train a model.
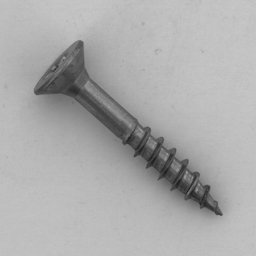
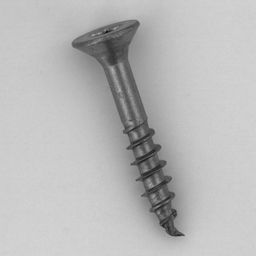
For simplicity, the model will be a classification model and you also only need to label the class of the image. The model classifies whether the screw is good or bad.
Here are examples of good and bad screws. The first image is the good screw. The second image is the bad screw and you can see the there is a manipulated front.
What we need?
Create a data volume in PrimeHub called
screw, and set the read/write permission to your group. Please download the app_tutorial_labelstudio_screw_dataset.zip, unzip it and upload images to the~/datasets/screwfolder by the notebookCreate a directory
/project/<group_name>/screw-labeledin group volume to save the labeled resultsThe image
infuseai/docker-stacks:pytorch-notebook-v1-7-0-04b2c51fAn instance type >= minimal requirement (CPU=1, GPU=0, Mem=2G)
The prepared python file of the example app_tutorial_labelstudio_screw_prepare.py and upload it to
~/screw_trainby the notebookThe prepared notebook file of the example app_tutorial_labelstudio_screw_train.ipynb and upload it to
~/screw_trainby the notebook
Please have the data volume, group volume, or request administrators for assistance before we start.
To use the new data volume, you need to create a label studio app after the creation of the data volume.
Steps
Follow the previous
Label Datasetsection to use the label studio. This time inLabeling Setup, we should chooseImage Classification.Delete the original
Labelssettings andAddour own label classes:bad,good.
Click the
Settingson the upper-right. ClickCloud StorageandAdd Source Storageto sync the/datasets/screwdata volume to label. SetLocal pathto/datasets/screw, setFile Filter Regexto.*png, turn on toggle ofTreat every bucket object as a source file. After added, clickSync Storage.Click
Add Target Storageto sync to labeled results to/project/<group_name>/screw-labeled. You need to setLocal pathto/project/<group_name>/screw-labeled.Back to the project in Label Studio. The data in the data volume has been shown on the UI. And you can click
Labelto start labeling. (Tip: you can use number to select the class)
After you labeled all images, you may see the following message. This is a known issue. Please click
OK, click your project name and refresh the page.
Now you have labeled all data by the label studio. We can go back to our notebook to train the model.
Open a terminal.
  cd ~/screw_train
  python app_tutorial_labelstudio_screw_prepare.py --path /project/<group_name>/screw-labeled/
After executed, it will create a folder named
dataand place the labeled images into the correct folder insidedatafolder.Open the notebook
app_tutorial_labelstudio_screw_train.ipynband execute all cells. In the last cell, you will see the result which is similar to the following image.
We successfully use our labeled data to train a model which can classify whether the screw is good or bad!