SSH Server Feature
PrimeHub provides a feature of SSH Server that users are allowed to access into their own launched Notebook via SSH. A practical use-case is that users are able to use IDEs such as VSCode which has remote-ssh extension for the development remotely. In other words, it provides other possible development options for users who like to use rich-features IDEs instead.
Enable SSH Server
Before starting a notebook, expand
Show advanced settingsand checkEnable SSH Server.
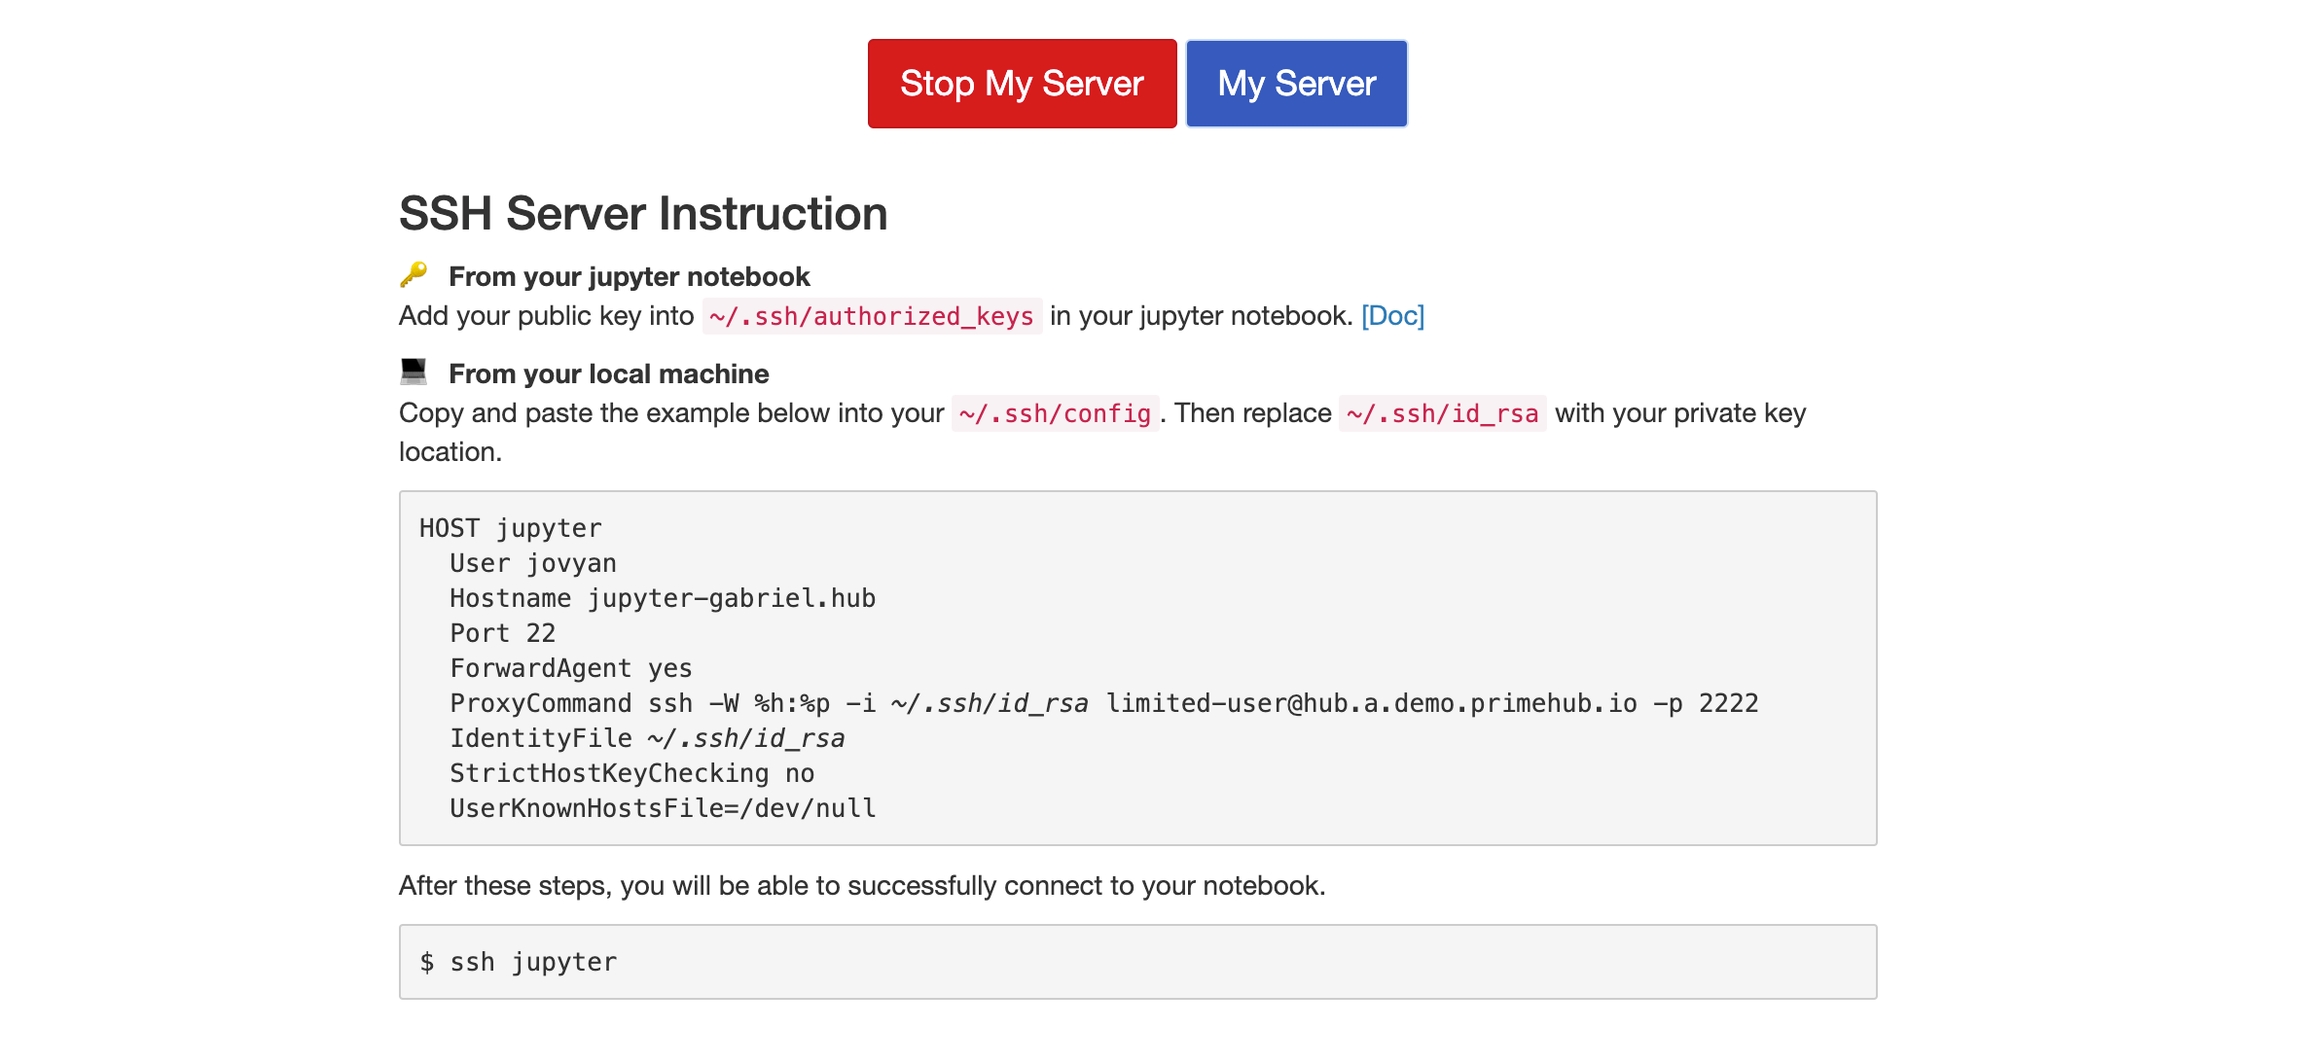
Hovering the cursor over the code block, copy the configuration by clicking the copy icon.
Press
Start Notebookto launch the JupyterHub.Go back to your local, edit the
~/.ssh/configwith adding the copied configuration at your local. Make surejupyter-<username>and~/.ssh/id_rsa(private key) are correct according to your circumstance.
Deploy Public key into JupyterHub
After Notebook is launched,

Drag-n-drop a public key (e.g.
id_rsa.pub) from your local to theFile Browserof the opened JupyterHub tab on browser.
Open
Terminalon Notebook, run the commandsmkdir -p ~/.ssh mv ~/id_rsa.pub ~/.ssh/authorized_keysGo back to your local, run the command for verification.
ssh jupyterAfter SSH into the Notebook successfully, you should see the prompt:
jovyan@jupyter-<your_username>:~$
Practical Usecase - VSCode
If you are familiar with VSCode, check our guide, VSCode + Remote-SSH.
Troubleshooting
If permission denied or connection refused occurs, please check our advices for troubleshooting.