Shared Files
The Shared Files feature is based on PHFS Storage to store shared files. Group members are able to browse shared files and able to upload files for sharing with other group members.

Browse
It lists files and directories with columns of Name, Size, and Last Modified. The list can be sorted by these columns.
<Directory>/: navigate into the directory by clicking it.
<File>: there are actions we can perform over files.View file: view the file in an new tab if the file format is supported. E.g. image, text and notebook(.ipynb).Download fileCopy PHFS URI: URI looks likephfs:///<path/to/file>(triple/); which can be used in Jobs.Delete
Upload Files
Click Upload Files to pop up an uploader.
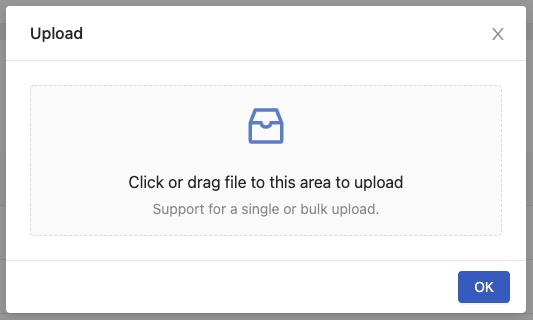
Click or drag files to start uploading them.
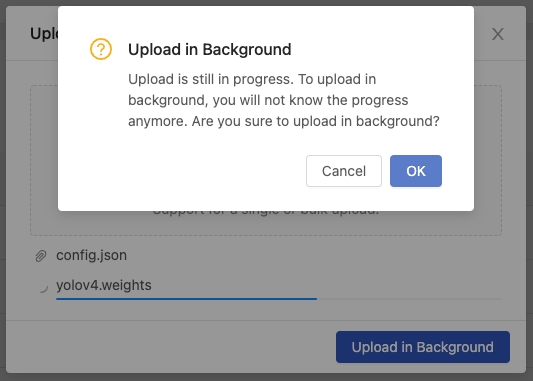
During uploading, the progress bar will show the progress of uploading.
We can click Upload in Background to move the uploading action to the background.
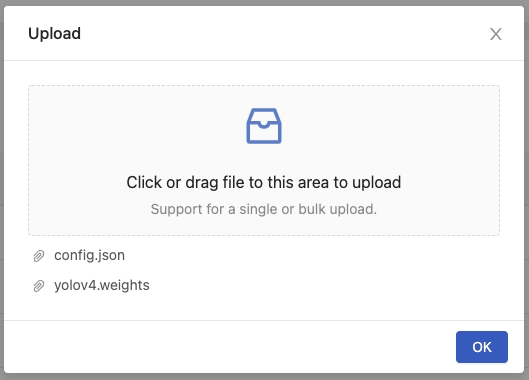
Once the uploading is done, the file will be listed in the Shared Files page.
Click OK to close the dialogue or click/drag to upload additional files.
Upload Folders
Click Upload Folders to pop up an uploader.
Click or drag folders to start uploading them. Confirm your choice before uploading.

During uploading, the progress bar will show the progress of uploading.

We can click Upload in Background to move the uploading action to the background.

Once the uploading is done, the file will be listed in the Shared Files page.
Click OK to close the dialogue or click/drag to upload additional files.

Uploaded files/folders can been only accessed by same group; please confirm the selected working group if files are not listed.
Create directory
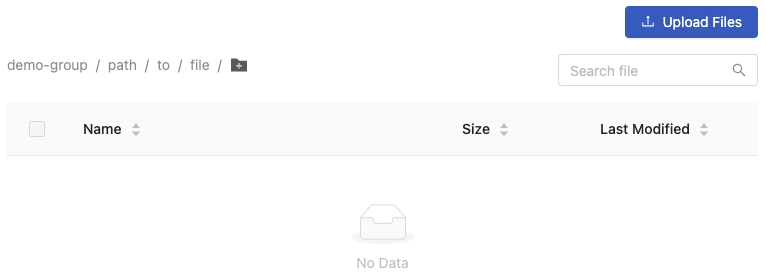
Firstly, click the + icon.
Then input the name of sub-directory and click Confirm.

Example of typing the path/to/file.
Create/Update a Dataset
The Shared Files is the whole files storage and the Datasets is the specified collection of files that based on the Shared Files.
We can directly choose some files or directories from the Shared Files list, it will pop-up dialogue to Create new dataset or Add to existing dataset.
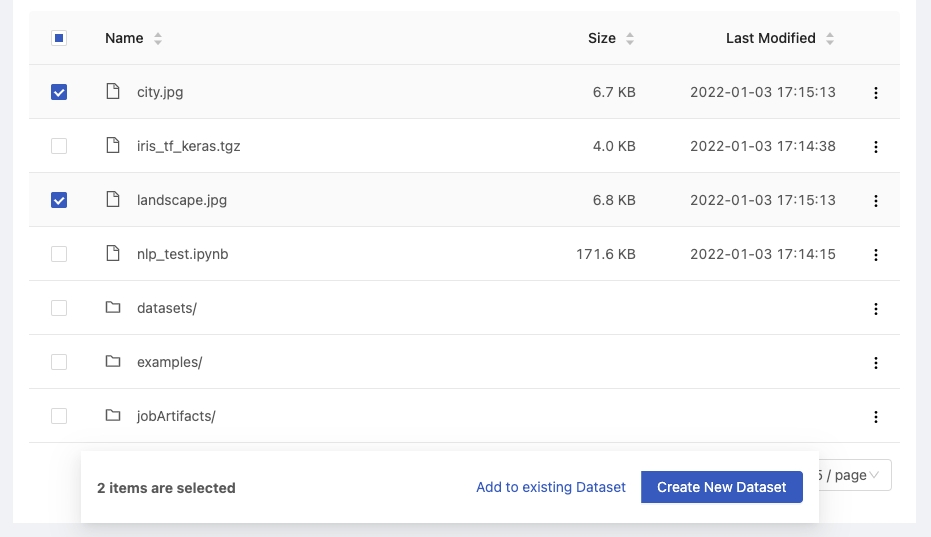
Create new dataset
Select Create new dataset, it will pop-up dialogue and we can input the Dataset Name, specify Tags, and view the file contents.
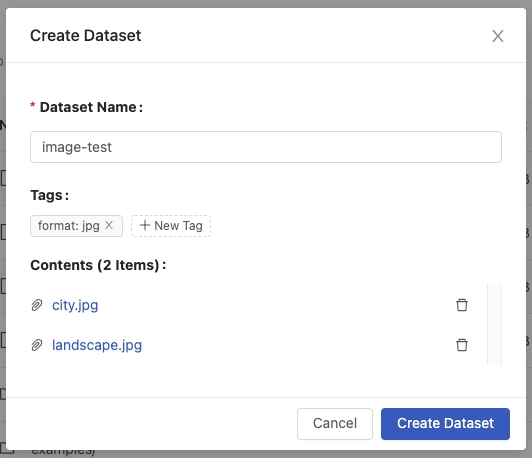
Dataset Name: name of the dataset.Tags: tags of the dataset.Contents: the file contents of the current creation.
After specifying the values, click Create Dataset.
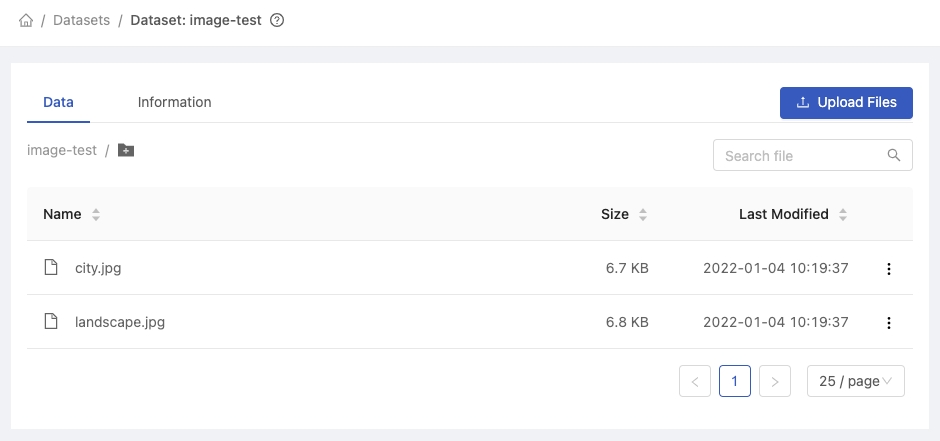
The dataset image-test is created successfully.
Add to existing dataset
In addition to creating a new dataset from the Shared Files, we can also add the files to an existing dataset.
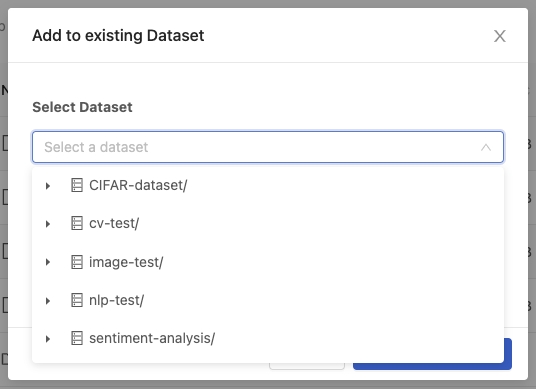
Select Add to existing dataset, it will pop-up dialogue and we can select the existing dataset and view the file contents.
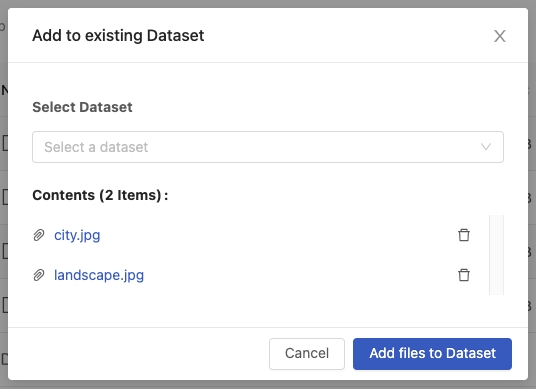
View selectable datasets. Here we select cv-test.
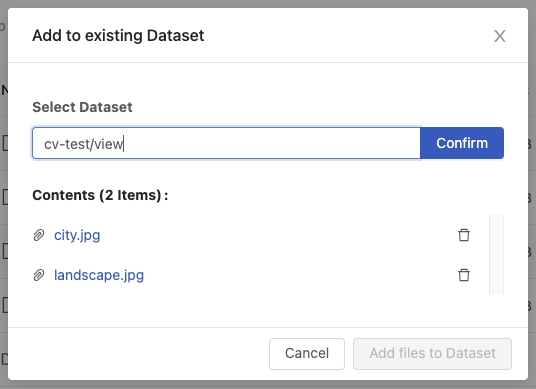
We can add files to the cv-test dataset directly or even add a sub-directory to the cv-test dataset by clicking the Add folder.

Input the sub-directory name view and click Confirm.
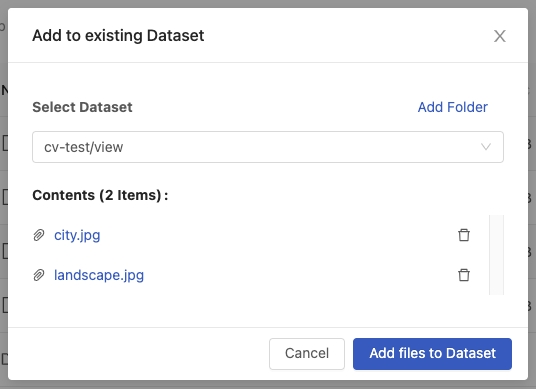
Ensure the update location and file contents are correct, click Add files to Dataset.
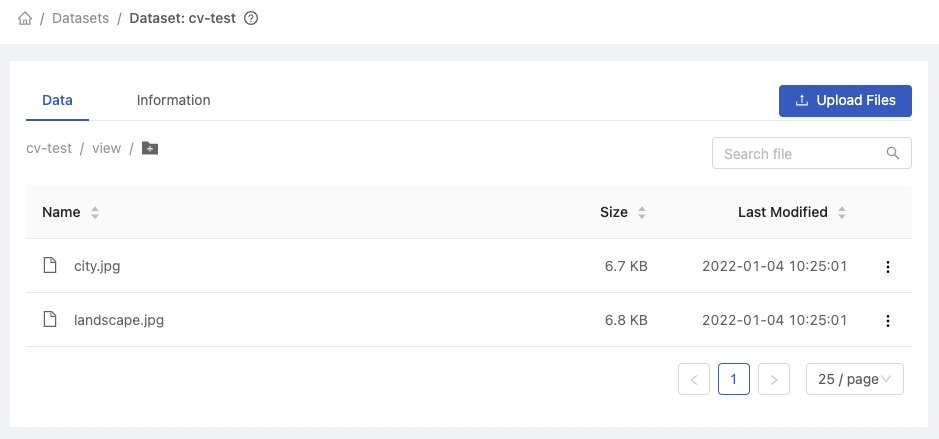
The dataset cv-test is updated successfully.
Download shared files in an archive
Select which files/folders you want to download on the shared files page.

Click Download button to start downloading selected files/folders.

Wait for the downloaded files to be compressed into a zip file.

Download the archive file from the User Portal Home page.
The zip file will be rotated every day.

Last updated