3 - Compare, Register and Deploy the Model
Introduction
In the previous part, we used PrimeHub Notebook to train and manage the base model. In this part, we will:
Compare the results of these two experiment.
The experiment with the best performance will be registered in PrimeHub Models
Deploy as an online API service via PrimeHub's Model Deployment feature.
Use the command line to test the API service.
Prerequisites
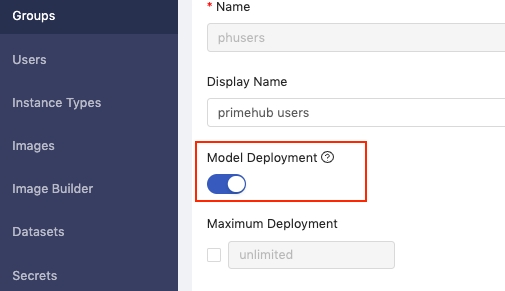
1. Enable Model Deployment
Before we get started, enable the Model Deployment toggle in your group settings.
2. Model pre-package docker image
There are two methods to get your pre-package docker image:
You can use our model pre-package docker image:
Image Name:
infuseaidev/tensorflow2-prepackaged:screw-classificationYou can build your own pre-packaged docker image by followed the advanced guide.
Step 1: Compared and Register the model
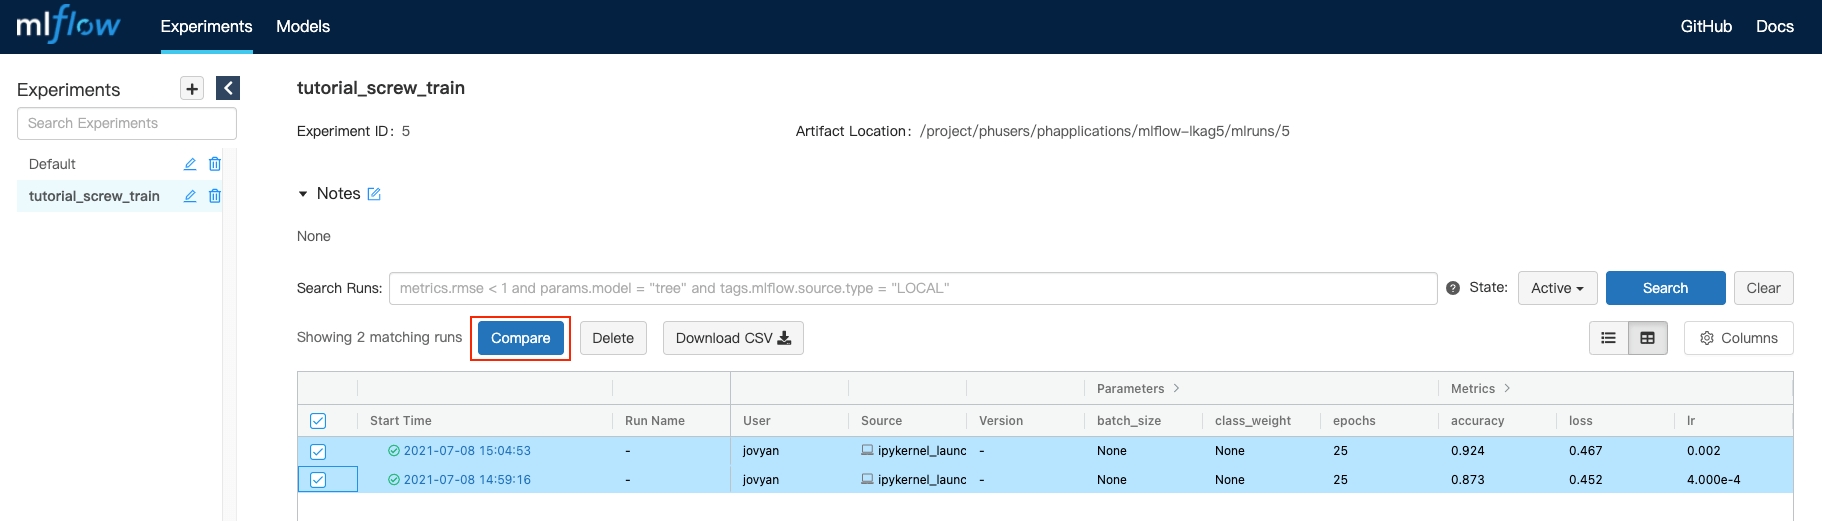
1. Compare the model in the MLFlow server
To compare the results, click the checkbox next to each run to select them, then click the Compare button.
→ MLFlow server UI → Choose two runs → Click Compare.
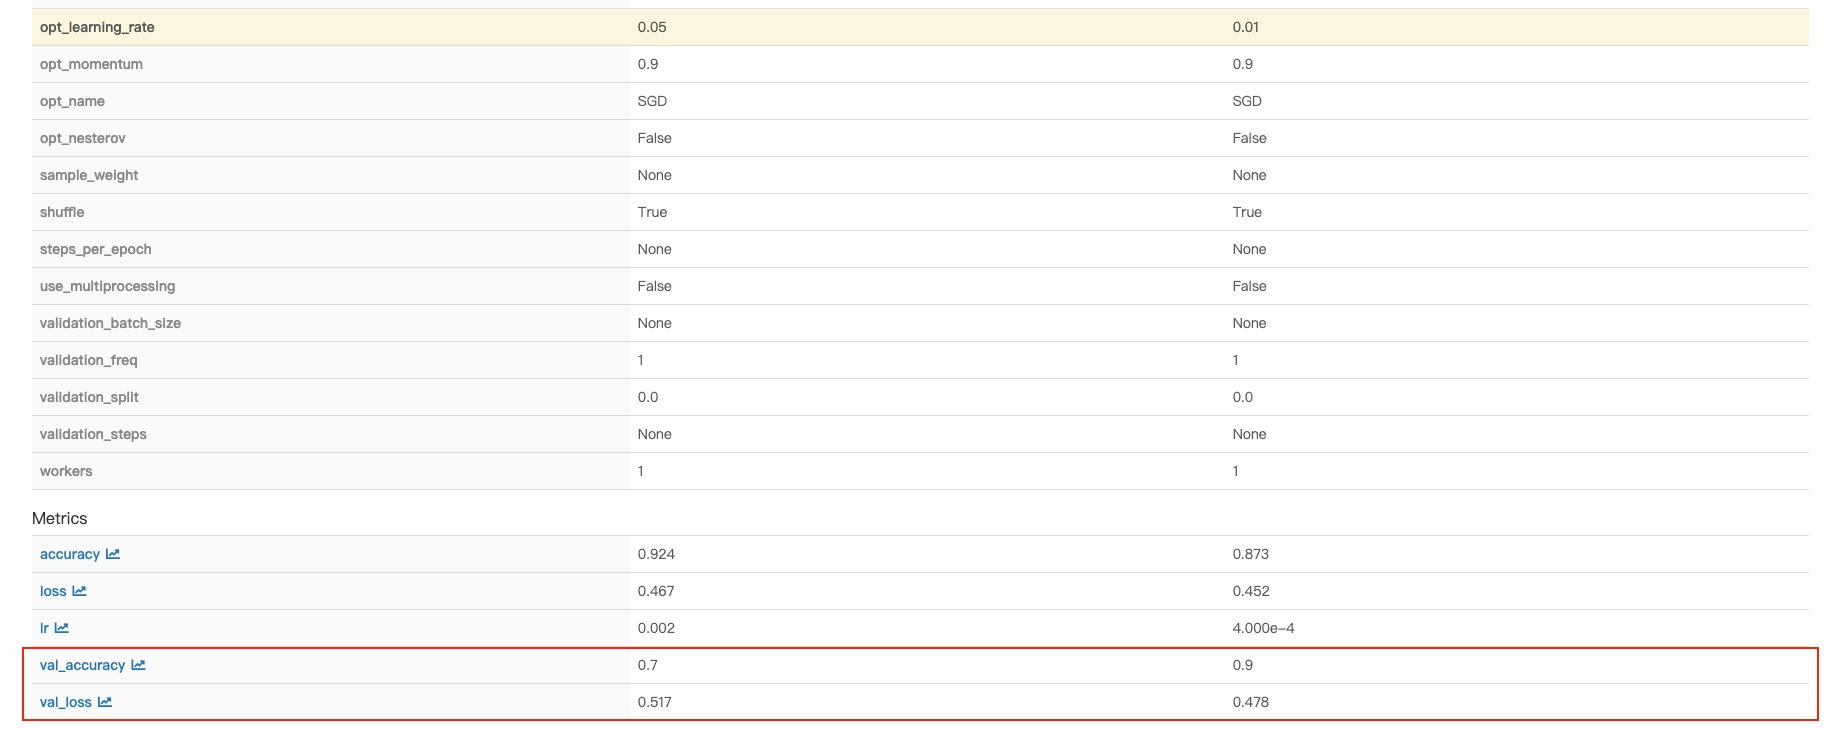
2. Choose the best run and register the model
Check the best score in Metrics
At the top of the page, click the Run ID link for the run.
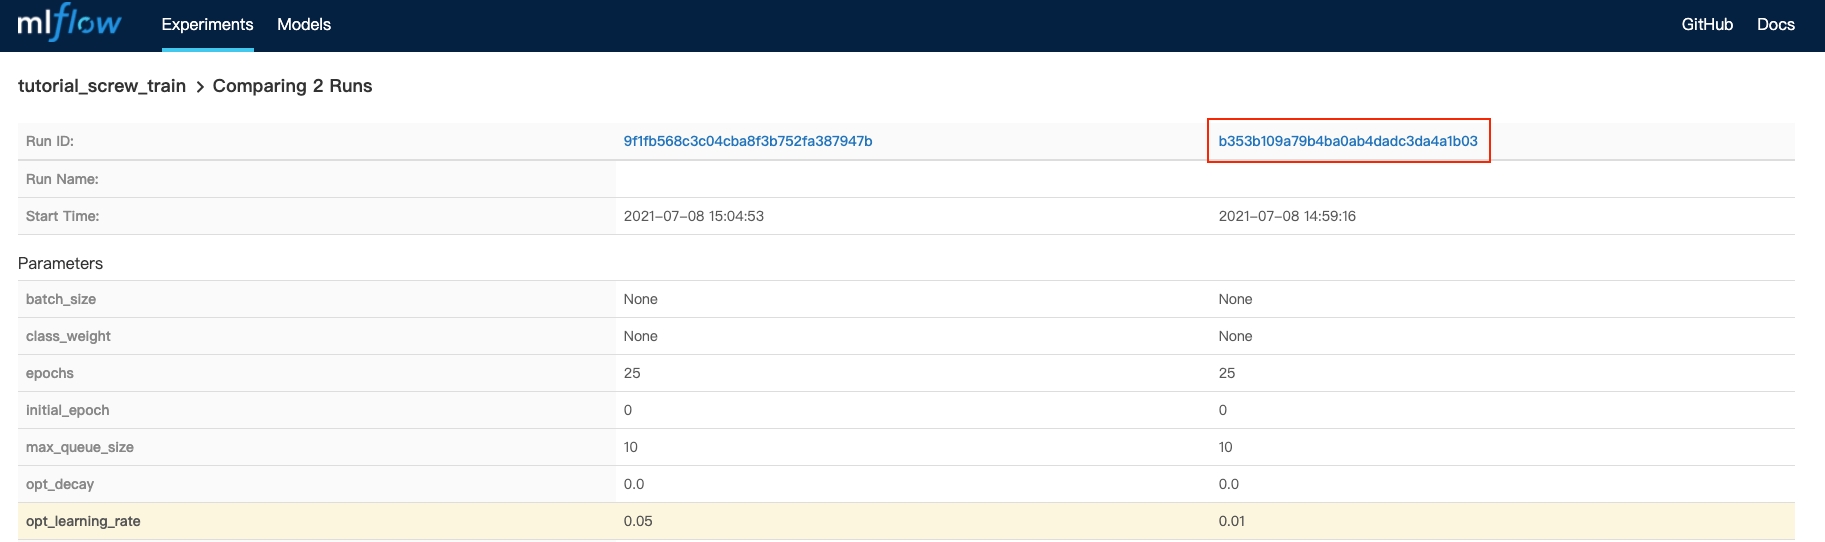
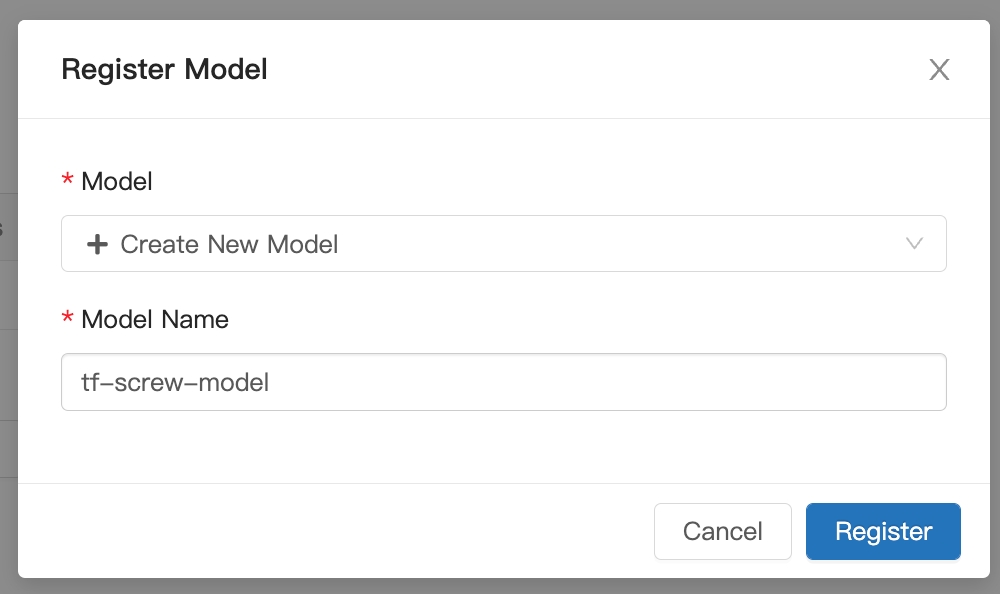
In the Artifact, register the model folder as our model registry.

Enter the model information to register the model.
Step 2: Deploy and test the model service
1. Model Deployment
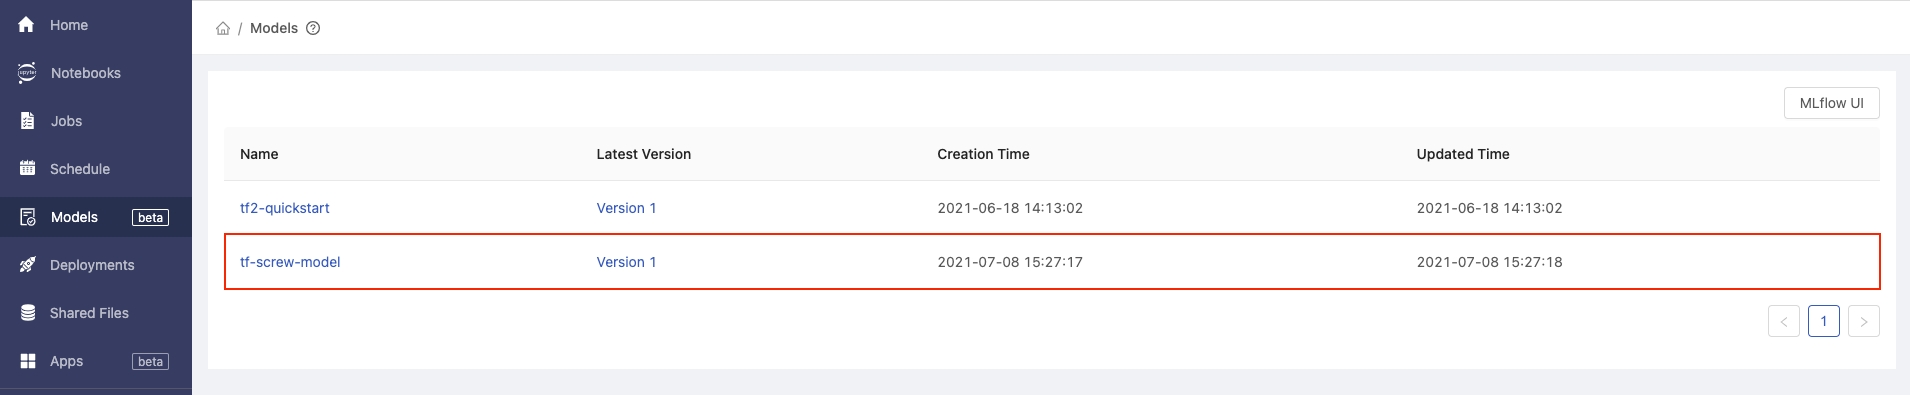
On the Models page in the PrimeHub user portal, click our managed model with the name tf-screw-model.
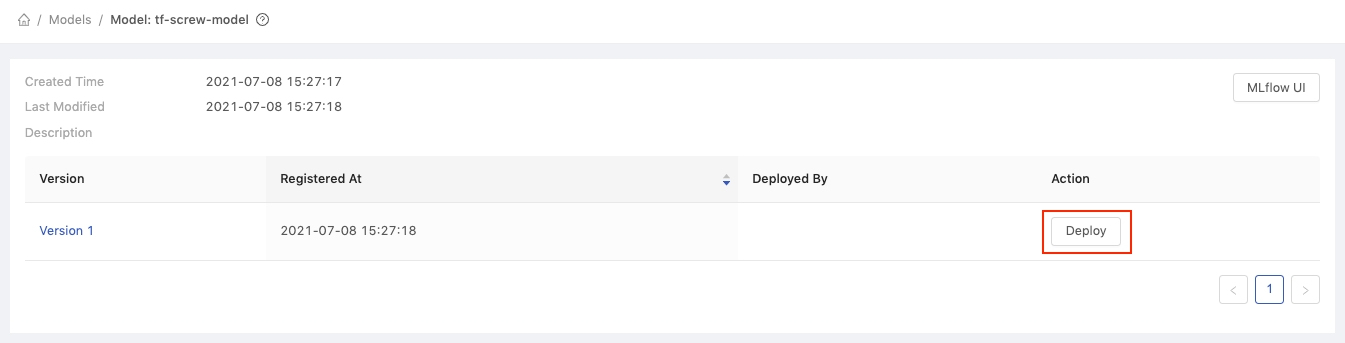
The following page shows all versions of the tf-screw-model model. Click the Deploy button for Version 1.
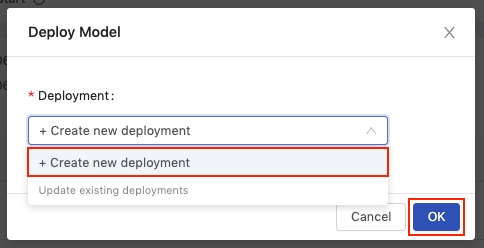
In the Deploy Model dialog, select Create new deployment from the Deployment dropdown and then click OK.
Fill in the Deployment information:
Deployment Name
tf-screw-deployment
Model image
infuseai/tensorflow2-prepackaged:screw-classification
InstanceTypes
CPU 1
Click the Deploy button, and you will be redirected to the Deployments page.
To view the details of the deployment, click the tf-screw-deployment card.
2. Test the model service is available to use
Run the following command line:
curl -F 'binData=@data/arrange/val/good/000.png' <primehub-deploy-url>You can get the output result:
{"data":{"names":["t:0"],"tensor":{"shape":[1,1],"values":[2.065972089767456]}},"meta":{"requestPath":{"model":"infuseai/tensorflow2-prepackaged:screw-classification"}}}Conclusion
In this tutorial, we compared and selected a suitable model using MLflow, deployed a model, and tested the model with sample data.
Next Section
In the next article, we will add a web application interface to our model using Streamlit, another app available through PrimeHub Apps.